
Create a Stitch Book: Your Personal Library of Decorative Stitches
Aug 01, 2026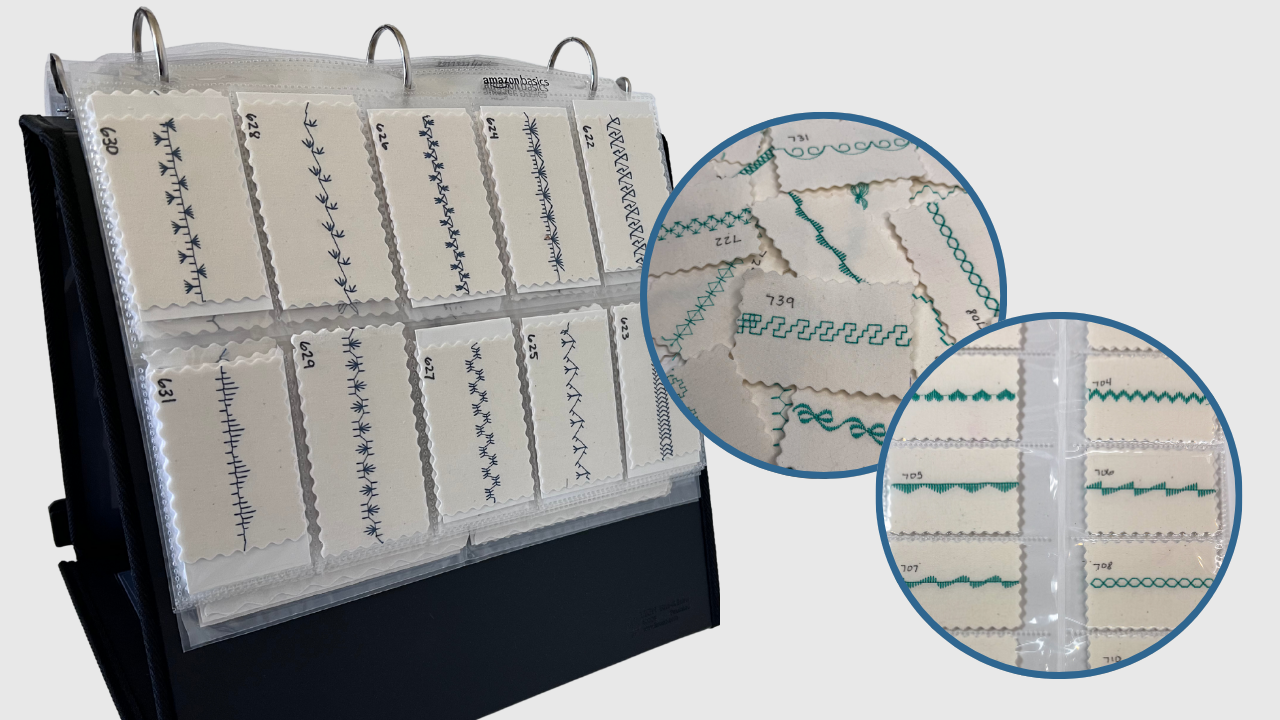
Have you ever scrolled through the decorative stitches on your machine, trying to decide which one will look best in your next project?
Those tiny stitch previews on the screen are helpful, but they don't always show how a stitch will look when it's sewn with your favorite thread, on your chosen fabric, or alongside other decorative stitches.
That's why every Stitch Maker should create a Stitch Book.
A Stitch Book is a collection of sewn stitch samples that allows you to see every decorative stitch your machine offers. Instead of guessing, you'll have real stitched samples at your fingertips, making it easy to choose the perfect stitch pattern for your Stitch Recipes and future sewing projects.
As you create your Stitch Book, you'll also become familiar with the decorative stitches on your machine, making it easier to discover new favorites and expand your creative possibilities.
Why Create a Stitch Book?
A Stitch Book helps you:
- Preview how stitches actually sew out.
- Compare decorative stitches side by side.
- Plan Stitch Recipes before stitching.
- Learn the decorative stitch library on your machine.
- Build a reference you'll use again and again.
There are many ways to organize a Stitch Book, but this method creates removable stitch samples that can easily be rearranged to audition stitch combinations before sewing.
Materials You'll Need
- Notebook or three-ring binder
- Business card page protectors
- Foundation fabric (approximately 15" × 20")
- Fusible interfacing
- Heavyweight cutaway stabilizer
- Fabric marking tool
- Rotary cutter
- Rotary cutting ruler
- Cutting mat
01. Prepare the Foundation Fabric
Begin by fusing interfacing to the wrong side of your foundation fabric. This gives the fabric additional stability while stitching the rows of stitches.
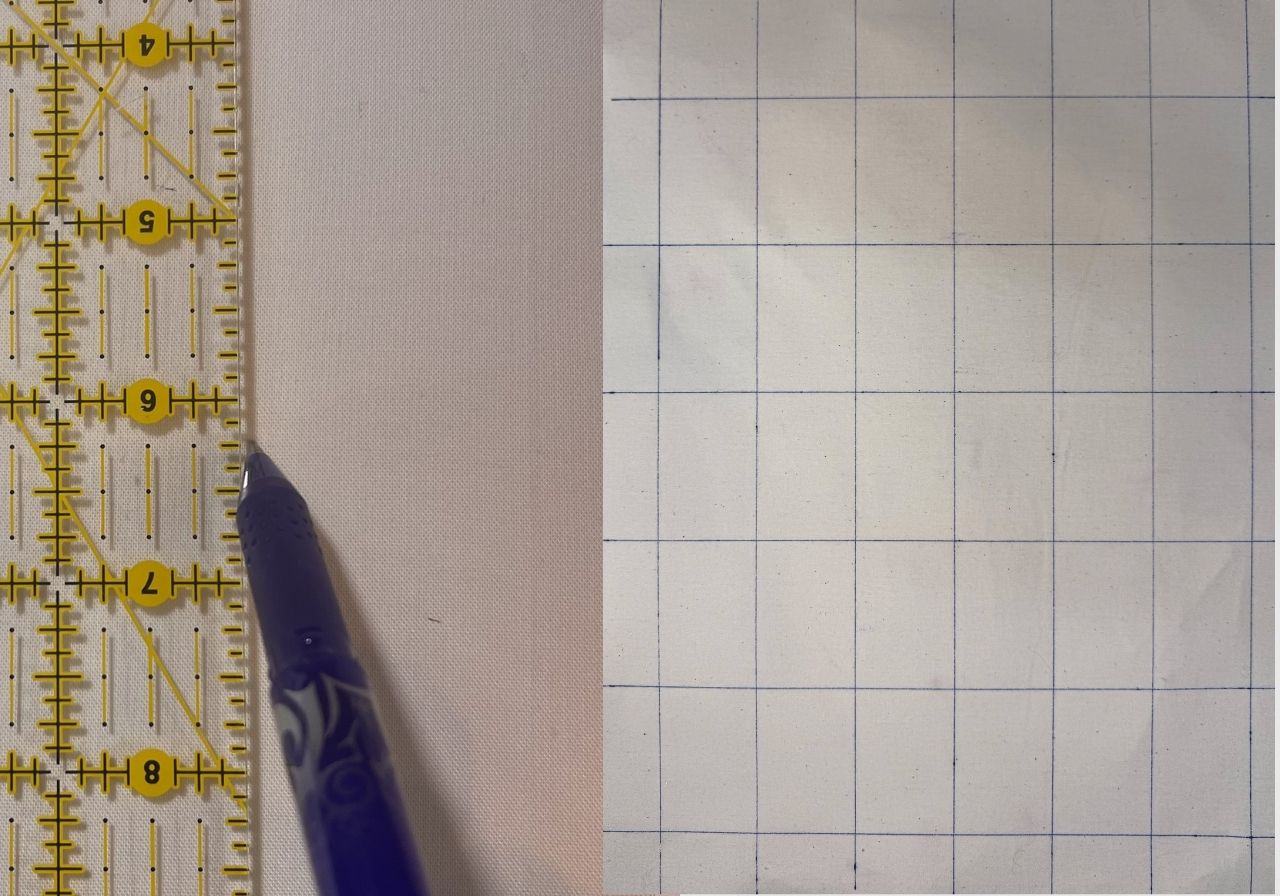
Because the stitch samples will be stored in business card page protectors, each finished swatch should measure approximately 2" × 3".
Using a fabric marker, draw a grid of 2" × 3" rectangles across the foundation fabric.
Tip: A 15" × 20" piece of foundation fabric will yield approximately 42 stitch swatches.
02. Add Stabilizer
Place a piece of heavyweight cutaway stabilizer under the prepared foundation fabric.
The added stability will support the stitch swatches as they are placed in and out of the page protectors.
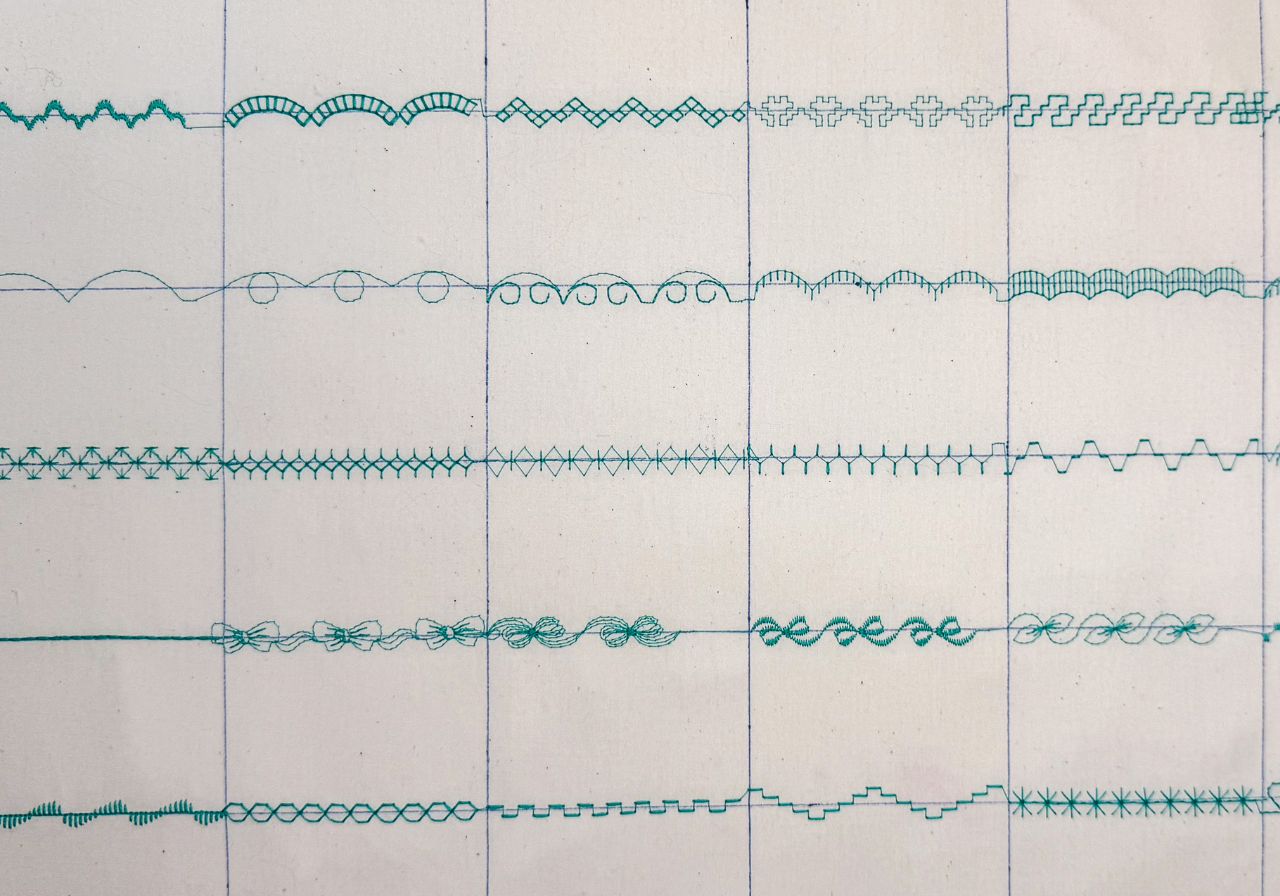
03. Sew the Stitch Swatches
Choose a Stitch Folder on your machine and select the first stitch in the folder.
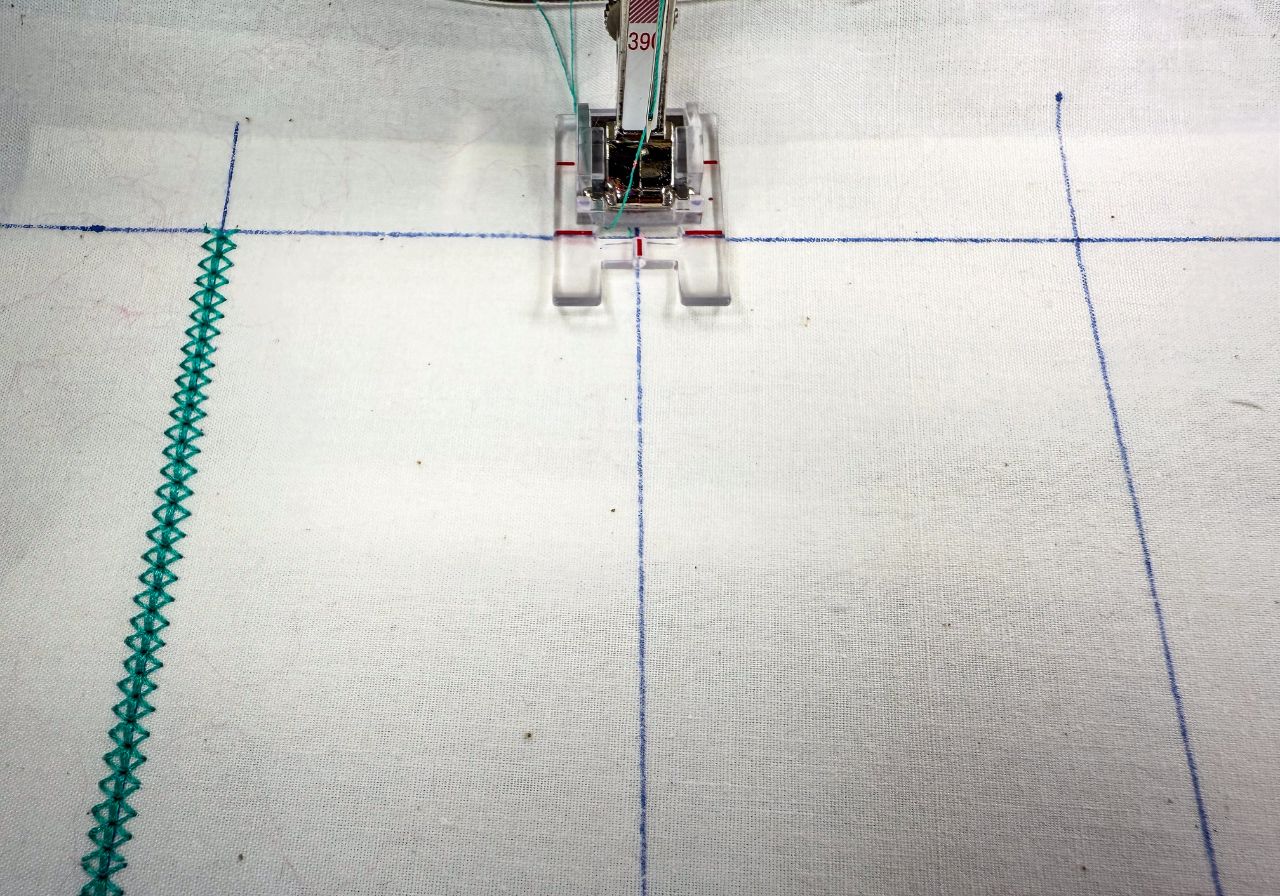
Starting at the top horizontal guideline:
01. Sew down the vertical guideline until you reach the next horizontal line.
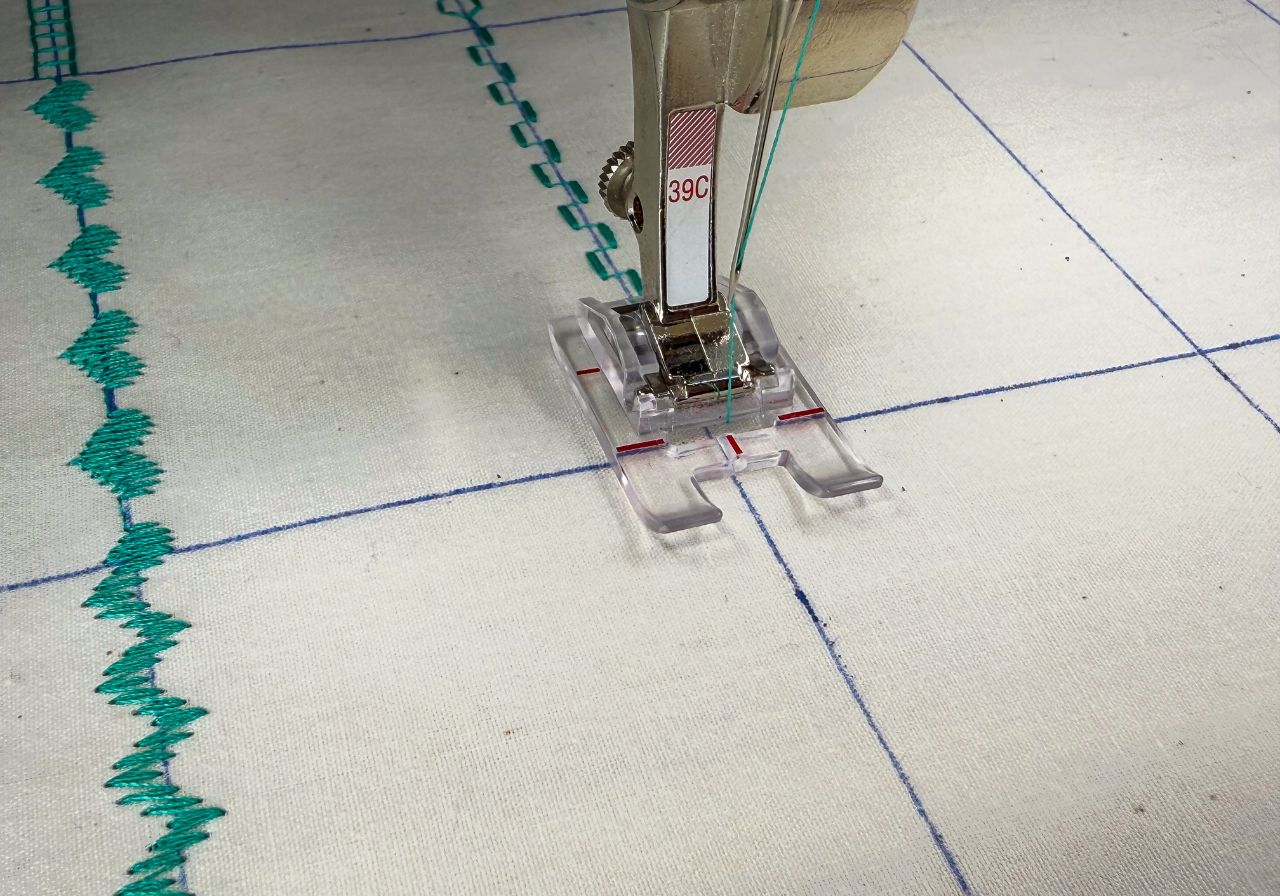 02. Select the next stitch pattern.
03. Sew to the next horizontal line.
04. Select the next stitch pattern.
05. Repeat until every stitch in the folder has been sewn.
Continue working through one Stitch Folder at a time until every stitch has been sewn.
04. Label Every Stitch
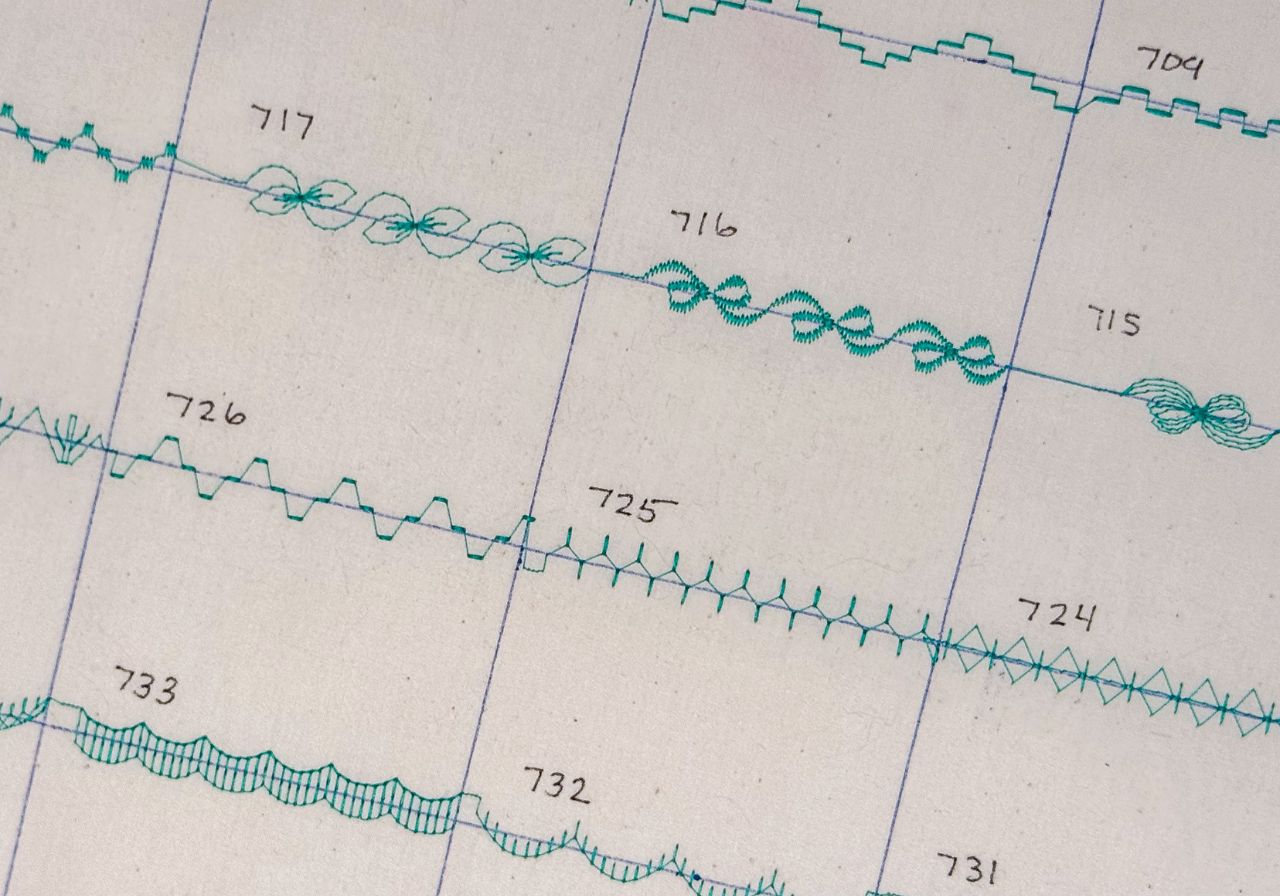
Before cutting the samples apart, write the stitch pattern number beside each stitched row.
Taking a few extra minutes to label every stitch now will save you time later when you're searching for the perfect stitch pattern.
05. Cut the Swatches
Once all of the stitch patterns are numbered, it's time to cut them apart.
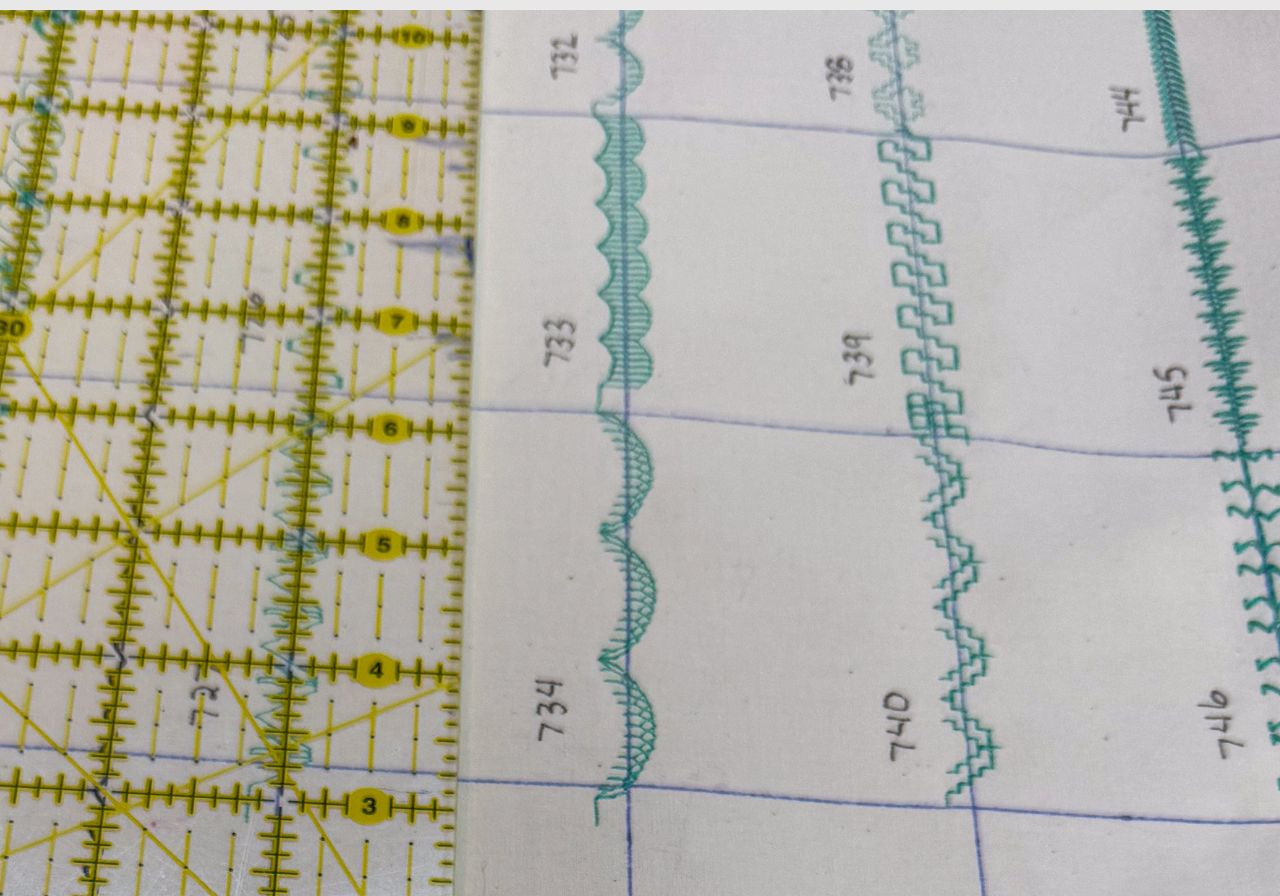
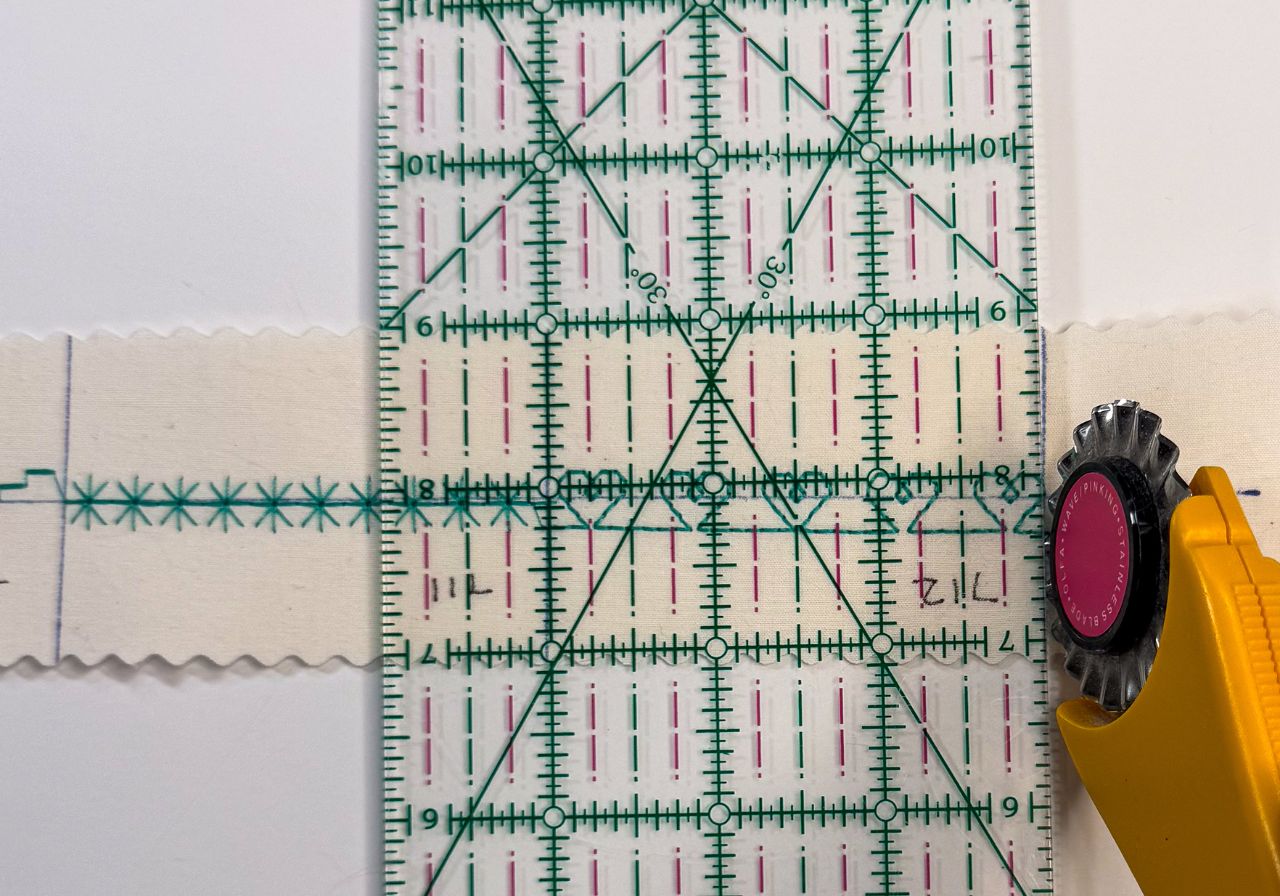
Using a rotary ruler:
- Align the 1-inch marking with a stitch row.
- Position the edge of the ruler between two stitched rows.
- Cut between each row using a rotary cutter.
If you'd like to add a decorative touch, try using a wave rotary cutter to create finished edges.
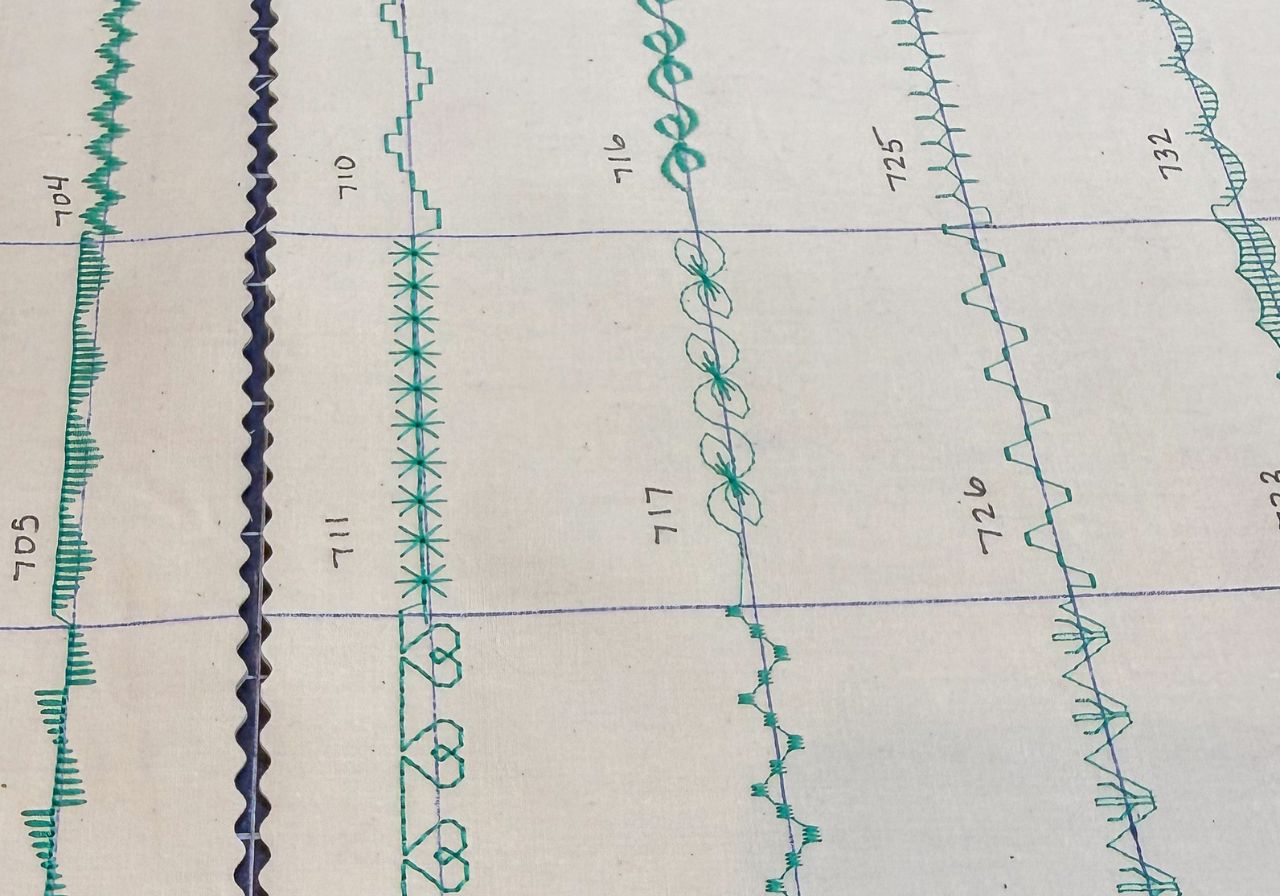
Next, cut between each stitch pattern on the drawn lines to create individual 2" × 3" stitch swatches.
06. Assemble Your Stitch Book
Place each stitch swatch into a business card page protector and organize them inside your notebook.
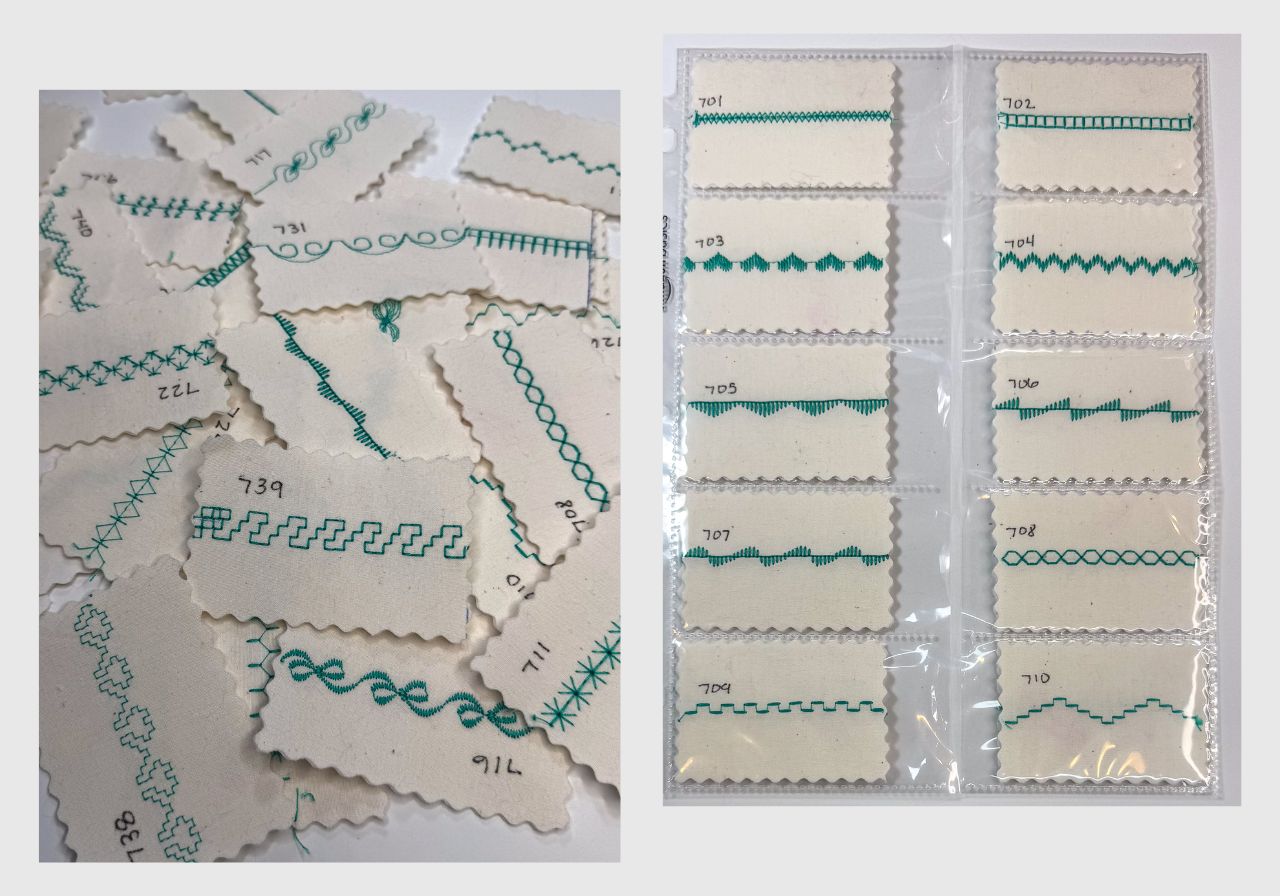
Now you'll have a portable reference library of decorative stitches that you can flip through whenever you're planning a project.
One of the biggest advantages of individual stitch swatches is that they can be removed and arranged side by side. This makes it easy to preview how different stitch patterns coordinate before you begin sewing your next Stitch Recipe.
Your Creativity, Organized
Creating a Stitch Book takes a little time, but it's one of the most valuable references you can make as a decorative stitch enthusiast.
Instead of relying on the small stitch previews on your machine's screen, you'll have real stitched samples you can see, compare, and rearrange whenever inspiration strikes.
As your Stitch Book grows, so will your confidence. You'll become more familiar with your machine's decorative stitch library, discover new favorites, and have a trusted reference you'll use again and again.
Ready to Create Your Own Stitch Recipes?
Take the Stitch Recipes: From Creation to Completion class and learn how to create custom Stitch Recipes, make the most of your machine's built-in features, and unlock the creative potential of your decorative stitch patterns.
Whether you're just getting started or ready to take your skills further, this class will give you the confidence to create beautiful, personalized results.
Discover Stitch Maker Classes and explore our hands-on Stitch Exercises—your path to mastering BERNINA techniques with creativity and confidence
Join Stitch Maker's Email List
Stay in the loop with all things Stitch Maker!
Get notified whenever a new learning tool launches so you never miss an opportunity to grow your skills.