
Stitch Recipe Basics: How to Start and End Stitch Rows
Jul 14, 2026Creating beautiful stitch pattern rows isn't just about choosing the perfect decorative stitch and thread—it's also about how you begin and end each row.
Whether you're creating a Stitch Recipe with several rows of stitches or adding a single row of decorative stitches to a project, following the same routine every time will give you cleaner starts, secure finishes, and beautifully consistent results.
Let's walk through the process.
01. Customize Status Bar & Sewing Settings
Customize the Status Bar Settings as follows:
- Needle Stop: Down
- Upper Thread Tension: Default (adjust as needed)
- Select & attach your preferred Presser Foot
- Presser Foot Pressure: Default
- BERNINA Camera (optional): As needed
- Pinpoint Laser: (optional but helpful)
Customize the Sewing Settings as follows:
- Sewing Speed: 600
- Securing Stitches: On
- Presser Foot Hover Position: Medium
- External Buttons:
- Pattern End Button: Raise the Presser Foot
- Thread Cutter:
- Tie-Off > On > Secure in Place
- Cut Thread
02. Select a Decorative Stitch Pattern & Align the Needle
Choose your favorite Decorative Stitch Pattern from the many patterns available and get ready to sew.
Then, using the Pinpoint Laser (if available), position the needle exactly where you want the first stitch of the pattern to begin.
03. Press Pattern Begin Button
This ensures your BERNINA starts at the very first stitch of the selected decorative stitch pattern.
04. Bring the Bobbin Thread to the Top
For the cleanest possible start:
- Press Needle Up/Down once.
- Raise the presser foot.
- Gently pull the upper thread to bring the bobbin thread to the top of the fabric.
This helps prevent loose thread tails on the back of your project.
05. Press Pattern Begin Button (again)
Because the machine took a stitch while bringing up the bobbin thread, press Pattern Begin Button again.
This returns the machine to the very beginning of the decorative stitch so your pattern starts exactly where it should.
06. Re-Align Your Needle
Again, using the Pinpoint Laser (if available), position the needle exactly where the first stitch is to be stitched.
07. Begin Sewing
Press the foot control to begin sewing.
Your machine will first sew the securing stitches before automatically stitching the decorative pattern.
08. Finish the Stitch Pattern
As you approach the final stitch pattern in the row, sew a few stitches into the last Stitch Pattern and press the Pattern End Button.
Your BERNINA will finish the current Stitch Pattern completely before stopping automatically.
09. Check the Placement
Once the machine stops, make sure the stitch pattern ends exactly where you want it.
If you'd like the row a little longer, simply sew another complete Stitch Pattern before finishing.
09. Secure and Trim the Threads
Press Thread Cutter.
Your machine will automatically:
- Sew the securing stitches.
- Cut the threads.
- Raise the presser foot.
Your decorative stitch row is now complete.
10. Repeat for Every Stitch Pattern Row
Following the same routine every time creates cleaner starts, secure finishes, and beautifully consistent decorative stitching.
With just a few extra steps, you'll spend less time troubleshooting and more time enjoying beautiful, professional-looking results.
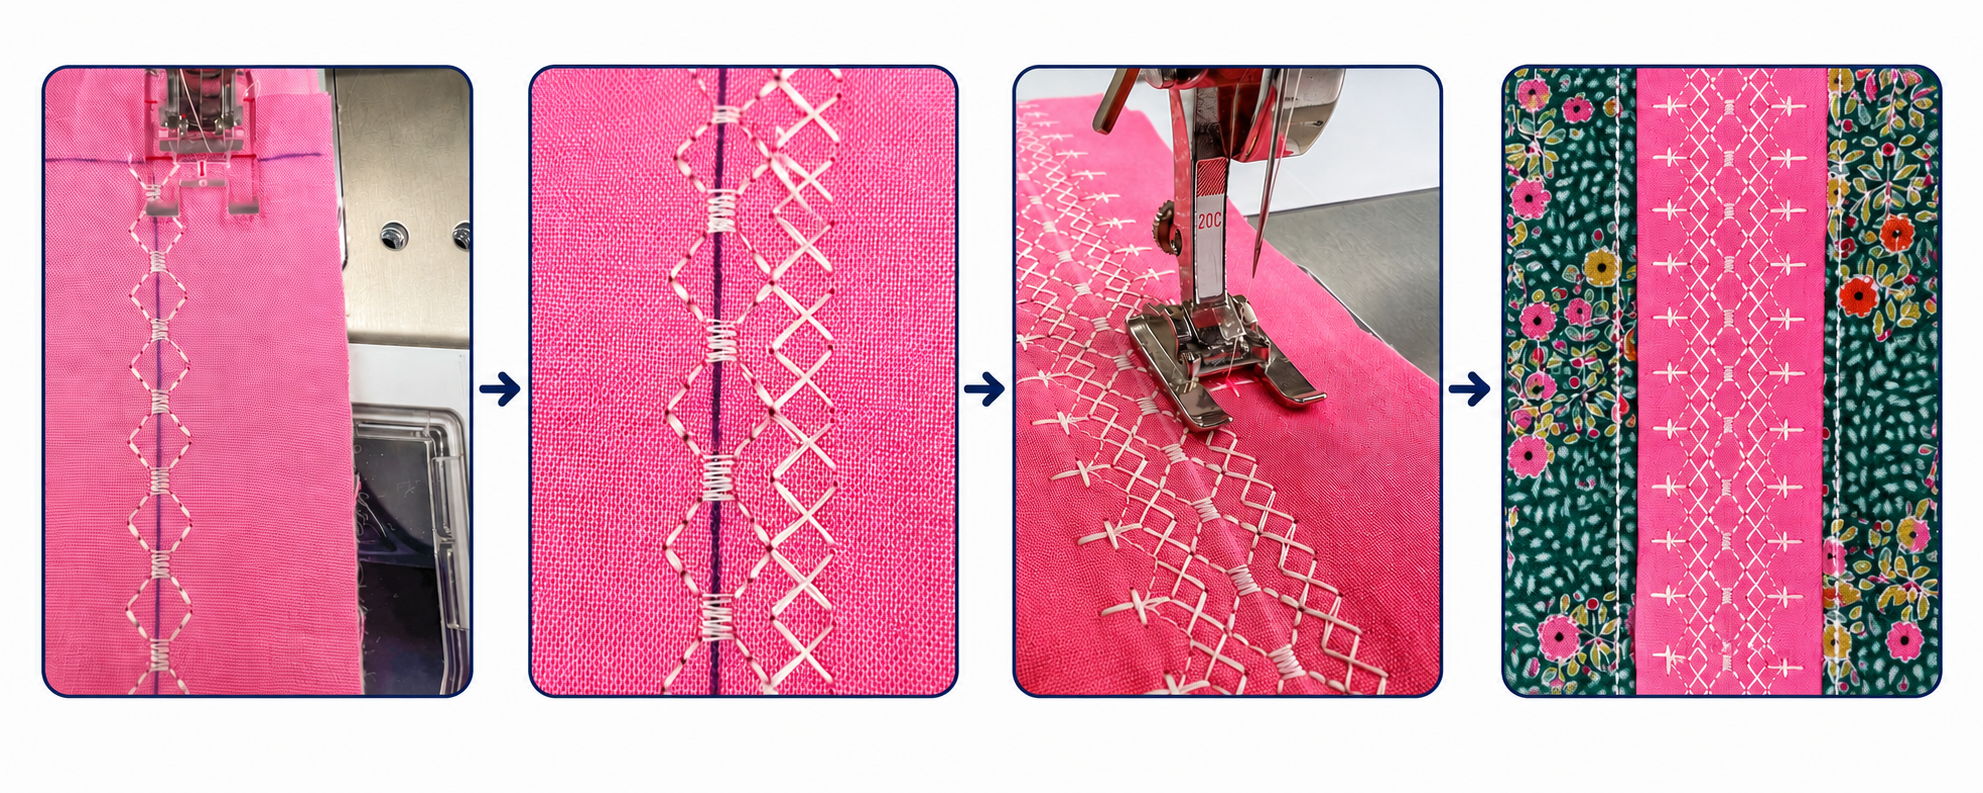
Quick Reference
Starting a Row
✔ Press Pattern Begin
✔ Align your fabric
✔ Bring the bobbin thread to the top
✔ Press Pattern Begin again
✔ Re-align your fabric
✔ Begin sewing
Ending a Row
✔ Sew into the final stitch pattern
✔ Press Pattern End
✔ Allow the machine to finish the stitch pattern
✔ Press Thread Cutter
✔ Repeat for the next row
Ready to Learn Even More about making Stitch Recipes?
Take the Stitch Recipes: From Creation to Completion class and learn how to create custom stitch recipes, make the most of your machine's built-in features, and unlock the creative potential of your decorative stitch patterns. Whether you're just getting started or ready to take your skills further, this class will give you the confidence to create beautiful, personalized results.
Discover Stitch Maker Classes and explore our hands-on Stitch Exercises—your path to mastering BERNINA techniques with creativity and confidence
Join Stitch Maker's Email List
Stay in the loop with all things Stitch Maker!
Get notified whenever a new learning tool launches so you never miss an opportunity to grow your skills.