Once your quilt layers are basted and secured, it's time to set up your sewing area and prepare to quilt. Proper setup makes a difference in how easily you can manage quilt bulk, support the hoop, and move from one quilting area to the next.
01. Prepare Your Sewing Space
The first step is to attach the embroidery module to your machine.
If your sewing cabinet has an extension, raise it to create extra support for larger quilts.
Next, attach the slide-on table to your machine. This added surface helps support both the quilt and the hoop throughout the quilting process.
Finally, attach the hoop to the embroidery module.
Important: The hoop stays connected to the module the entire time—you do not remove the hoop and quilt from the module each time you re-hoop. This single step makes computerized quilting smoother, faster, and more accurate.
02. Hooping Methods for Different Hoop Types
Each hoop type has its own workflow. Here's how to re-hoop confidently with twist-lock, clamp, and magnetic hoops.
Twist-Lock Hoops
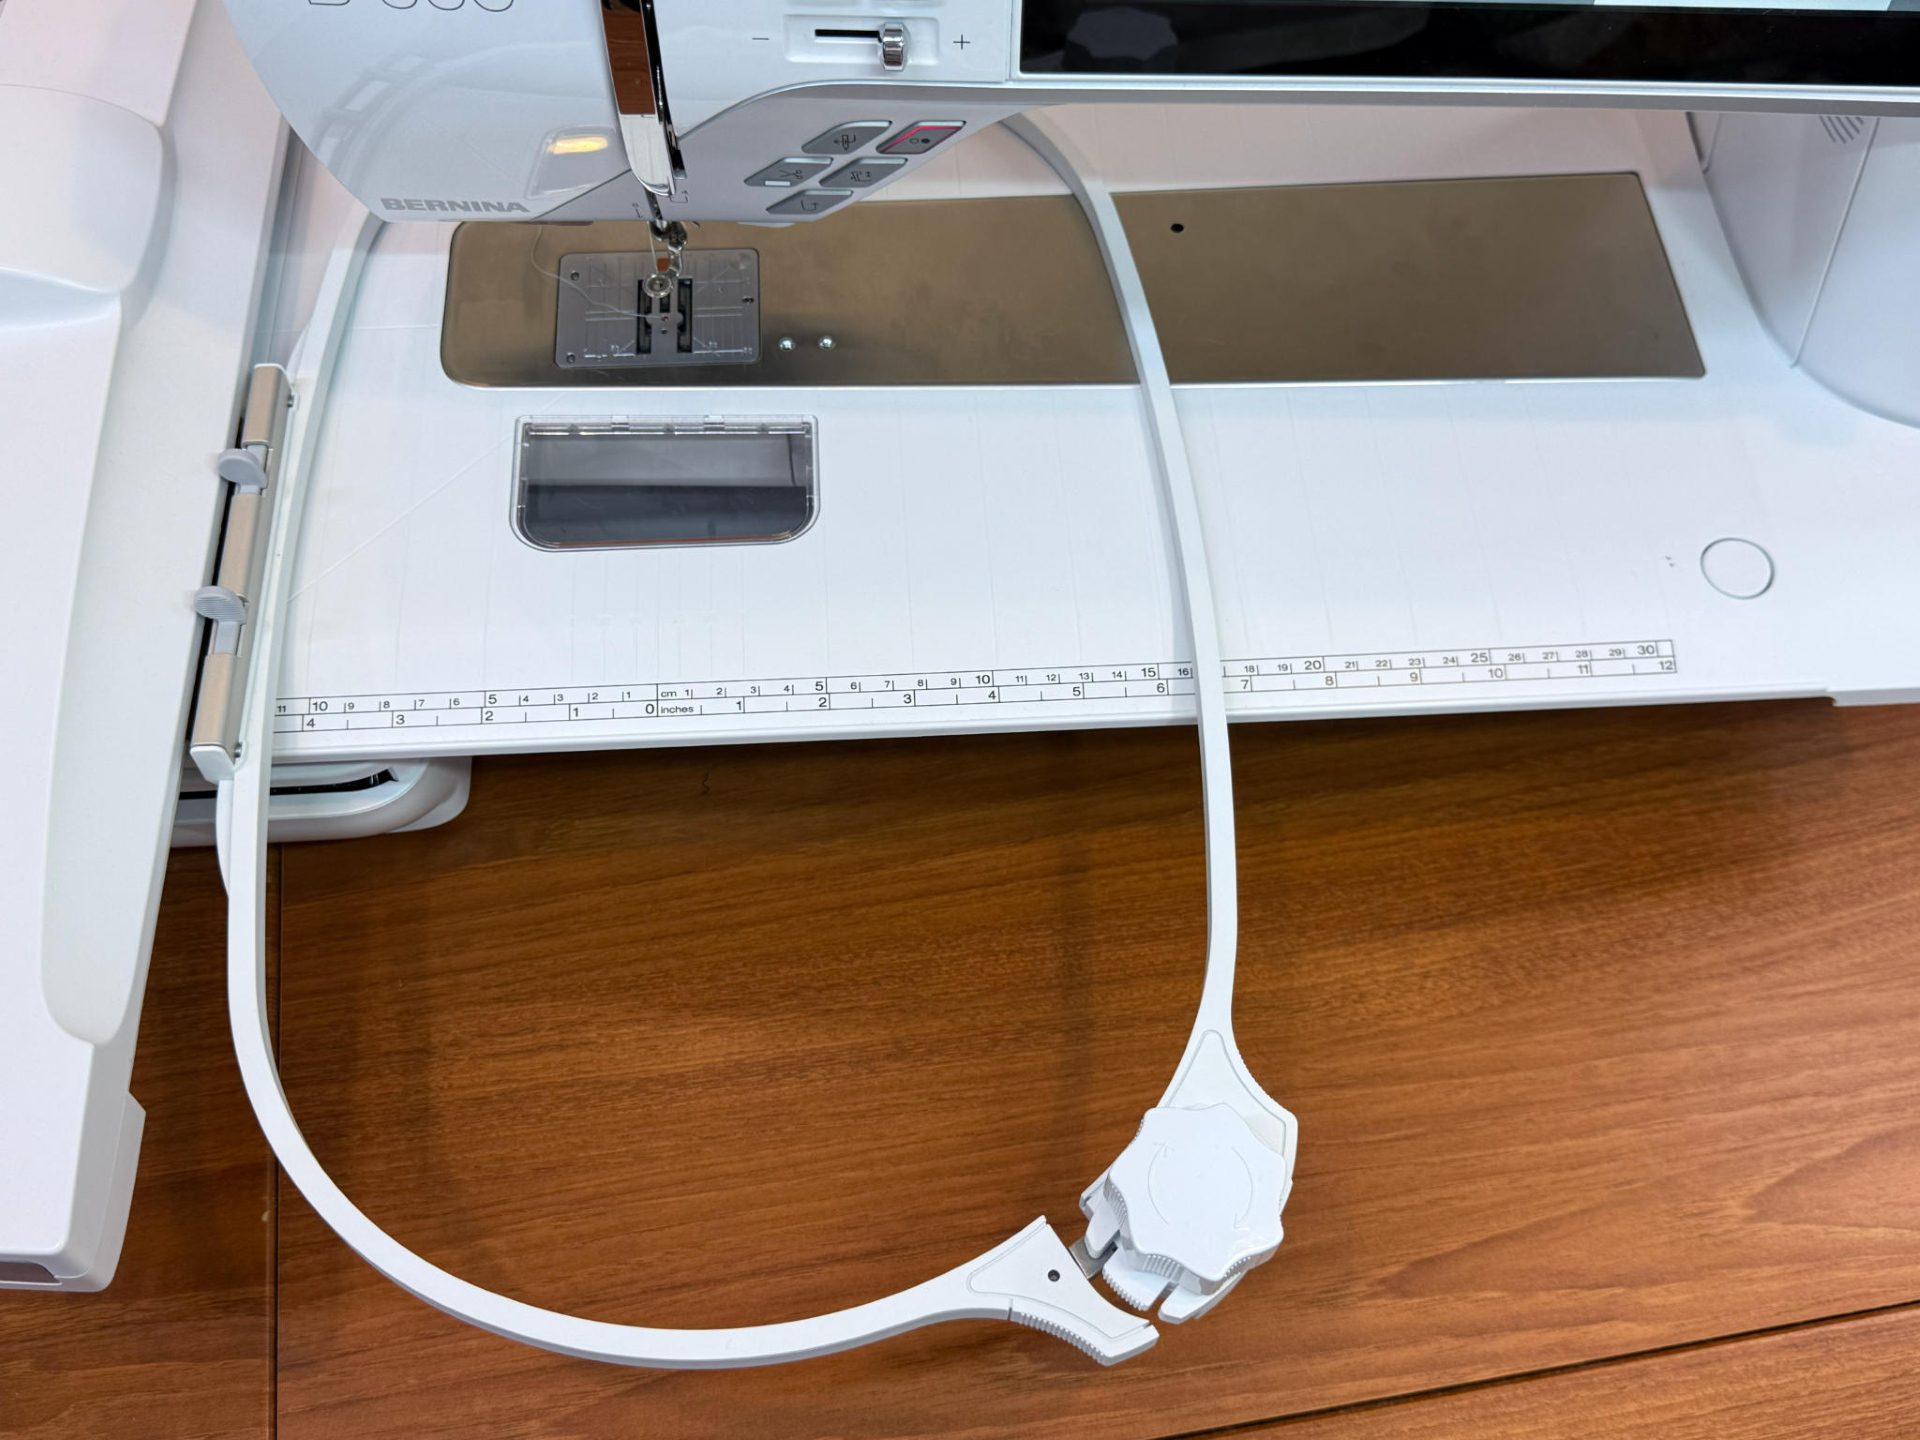
- Attach the outer hoop to the module with the twist-lock open.
- Place the quilt on top of the hoop and slide it to the area you want to quilt.
- Because your layers are properly secured, nothing will shift as you reposition.
- Place the inner hoop on top of the quilt and press it into the outer hoop.
- Begin tightening the twist-lock.
You'll hear two distinct sounds:
- The first sound slightly tightens the hoop so you can gently tug the quilt layers to ensure they lie flat.
- The second sound fully locks the hoop in place.
The quilt should be taut but not stretched, and blocks or borders should remain undistorted.
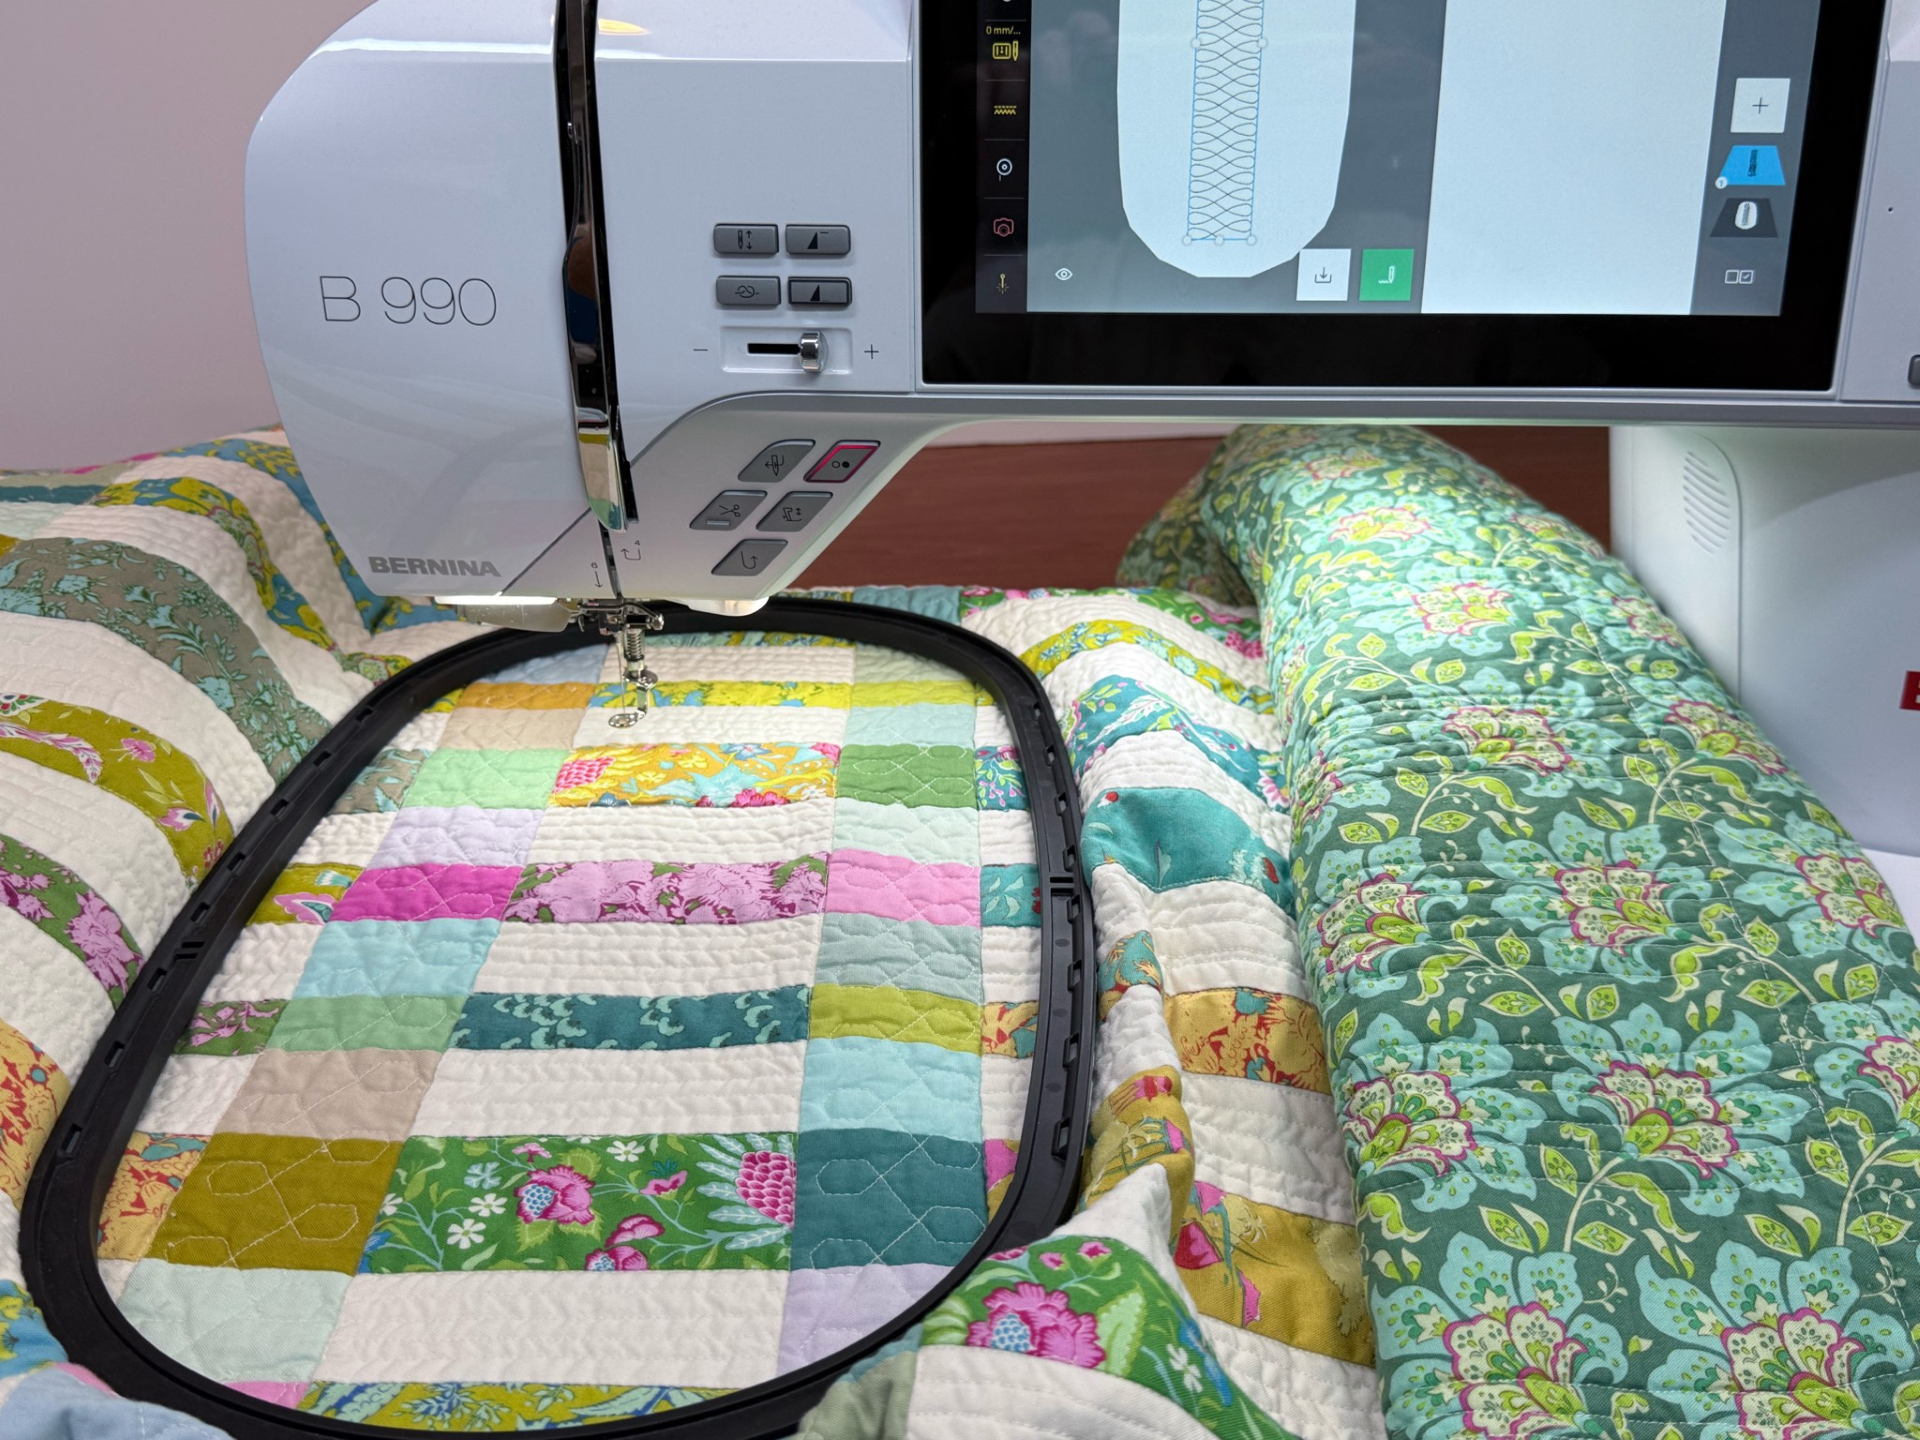
Position and stitch your design.
When finished:
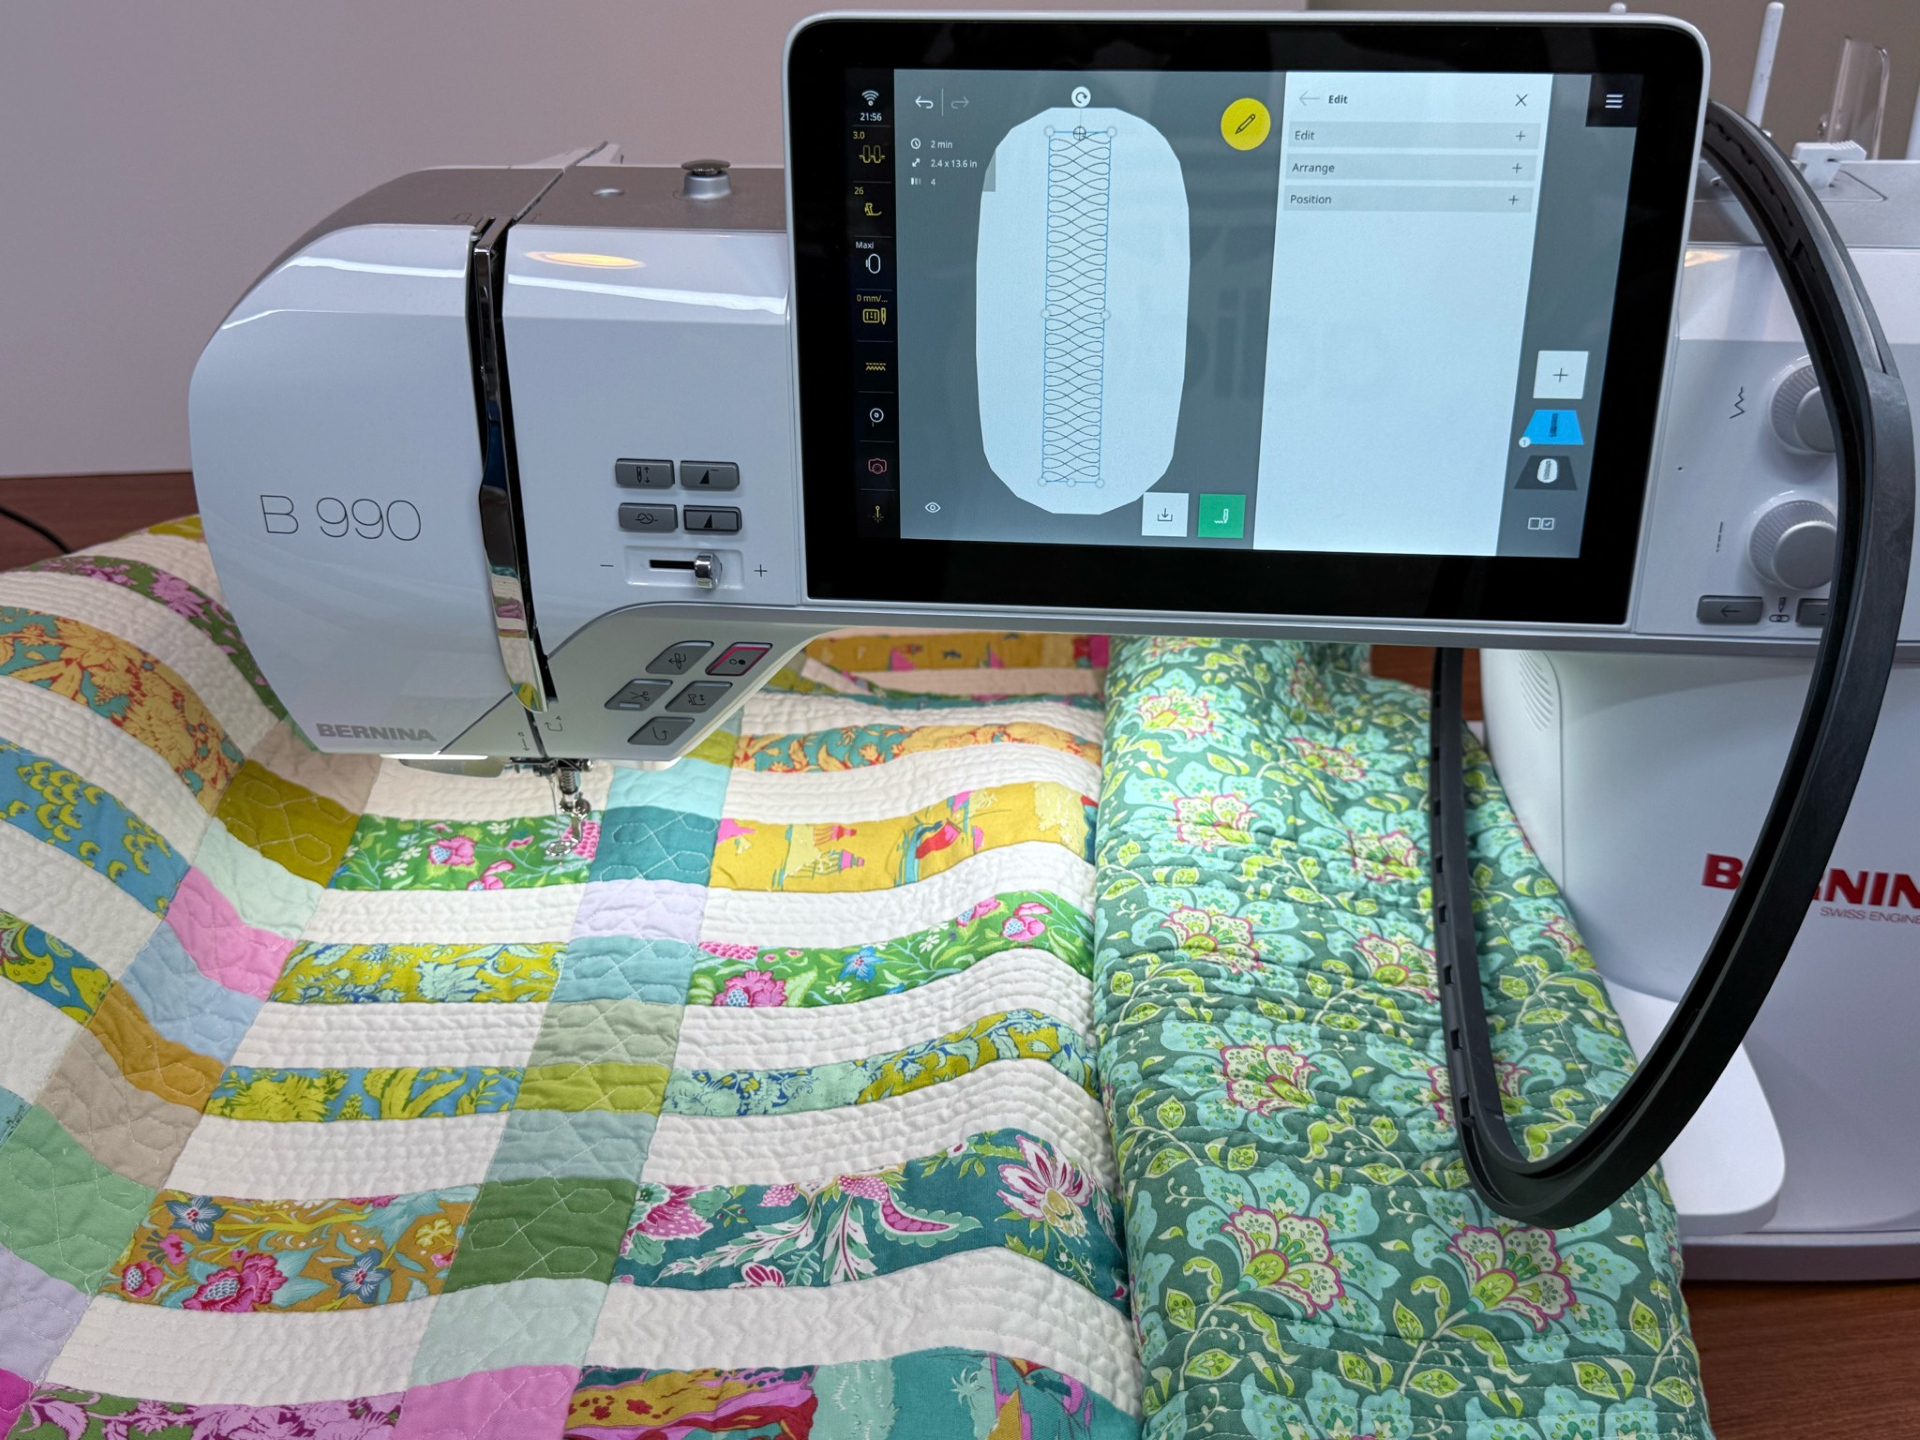
- Open the twist-lock.
- Remove the inner hoop and slip it over the machine head.
- You may need to rotate the hoop depending on machine and hoop size.
- Reposition the quilt.
- Re-insert the inner hoop.
- Tighten the twist-lock.
- Continue quilting.
Repeat until all areas are quilted.
Clamp Hoops
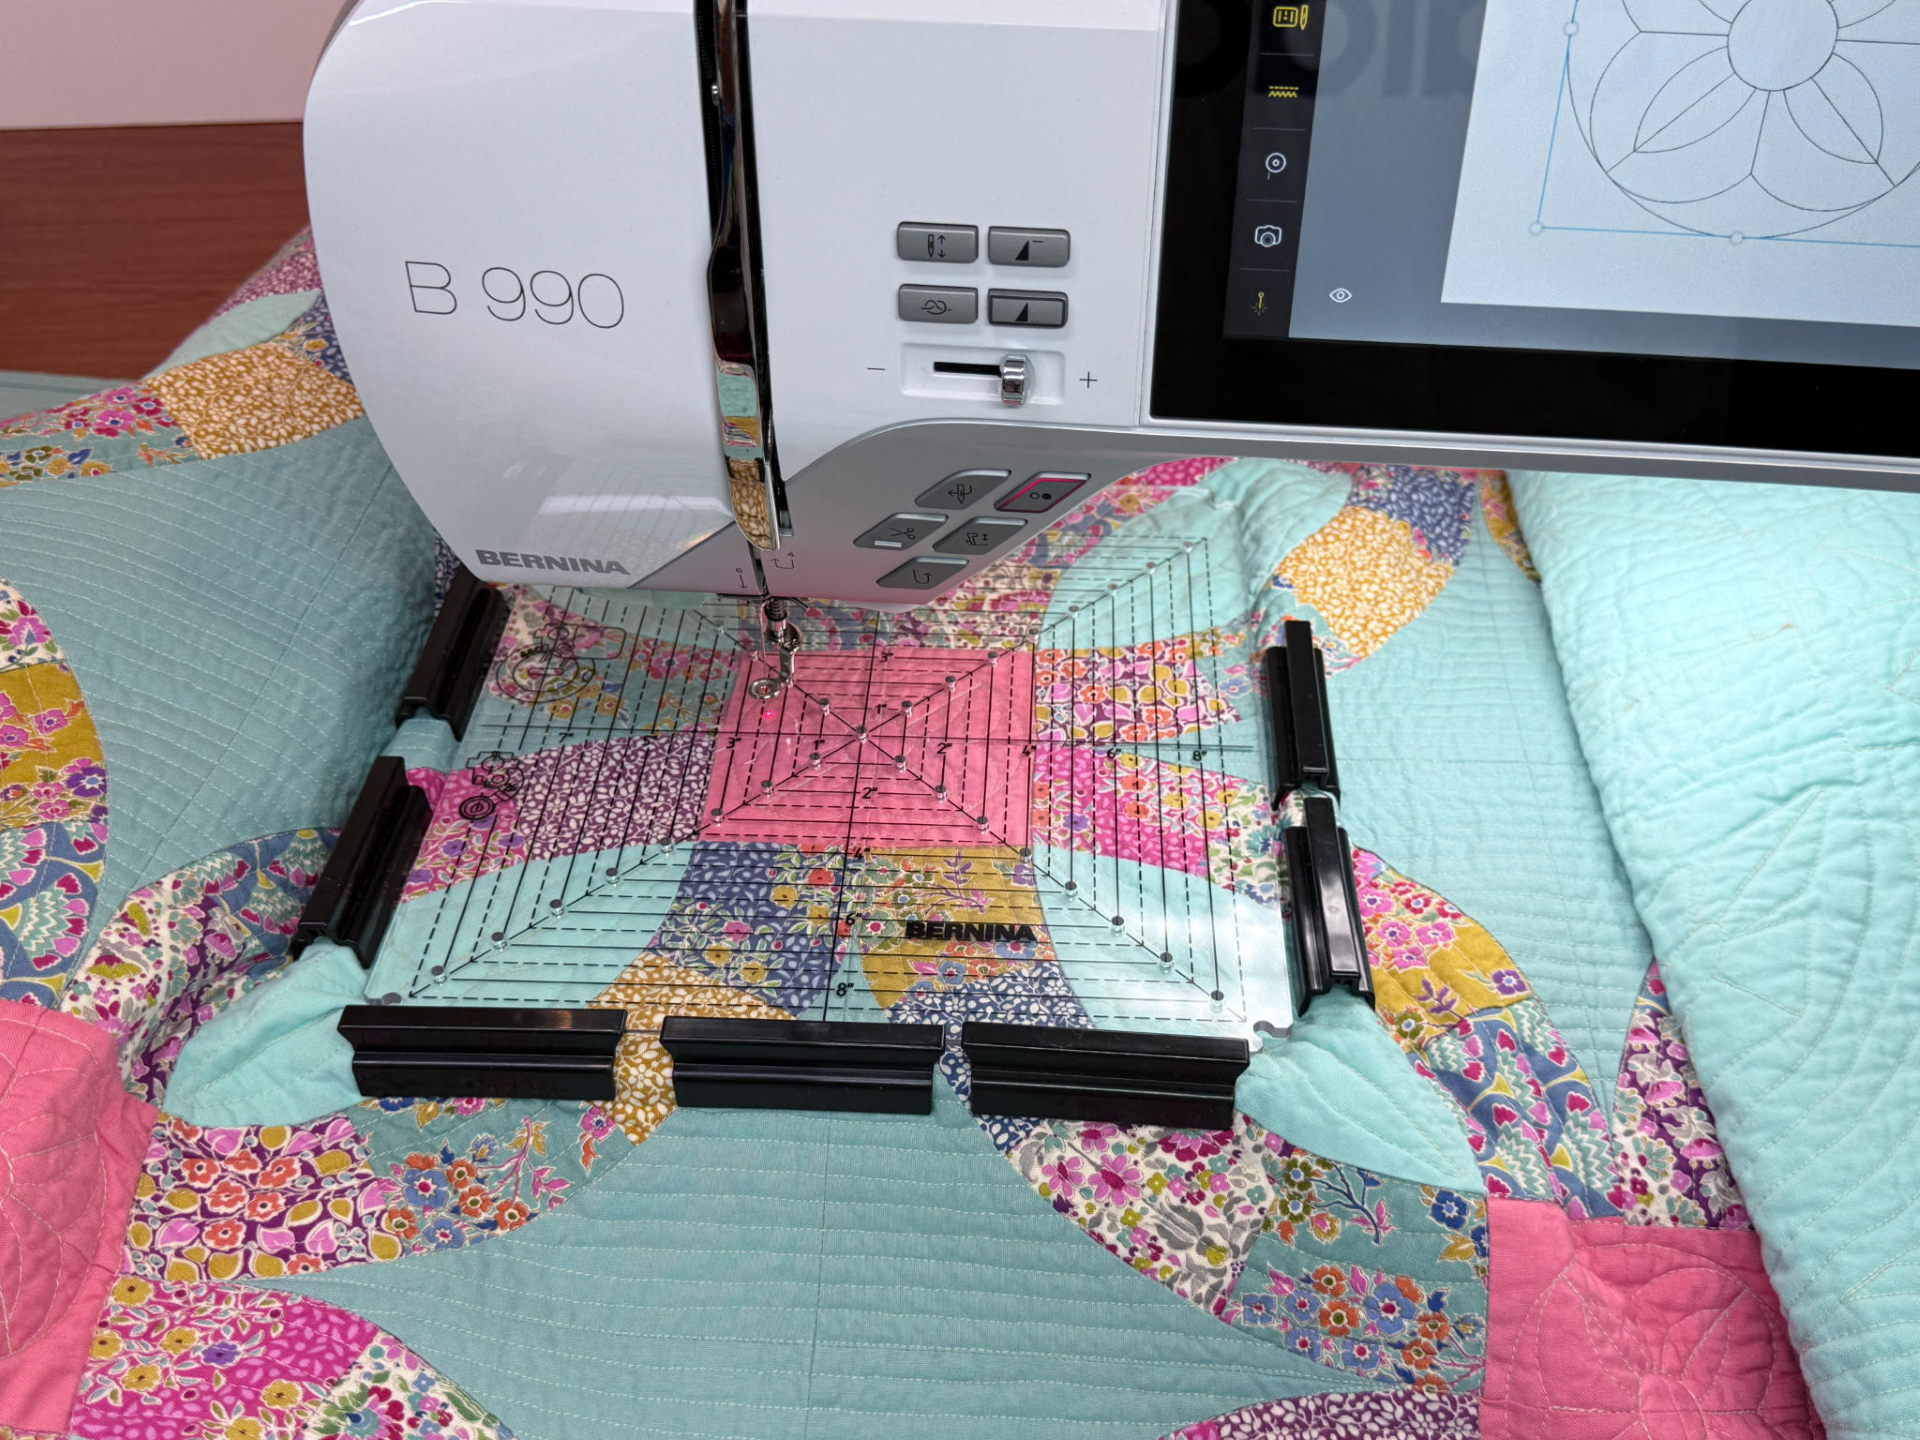
- Attach the clamp hoop to the module.
- Position the area to be quilted over the hoop.
- Insert the acrylic template.
- Use the template lines for precise placement when needed.
- With the template in place, secure the quilt by attaching the clamps.
- The slide-on table supports the hoop as you fasten the clamps.
- Remove the acrylic template.
Position and stitch your design.
When finished:
- Remove the clamps.
- Reposition the quilt.
- Repeat—keeping the hoop attached to the module at all times.
Magnetic Hoops
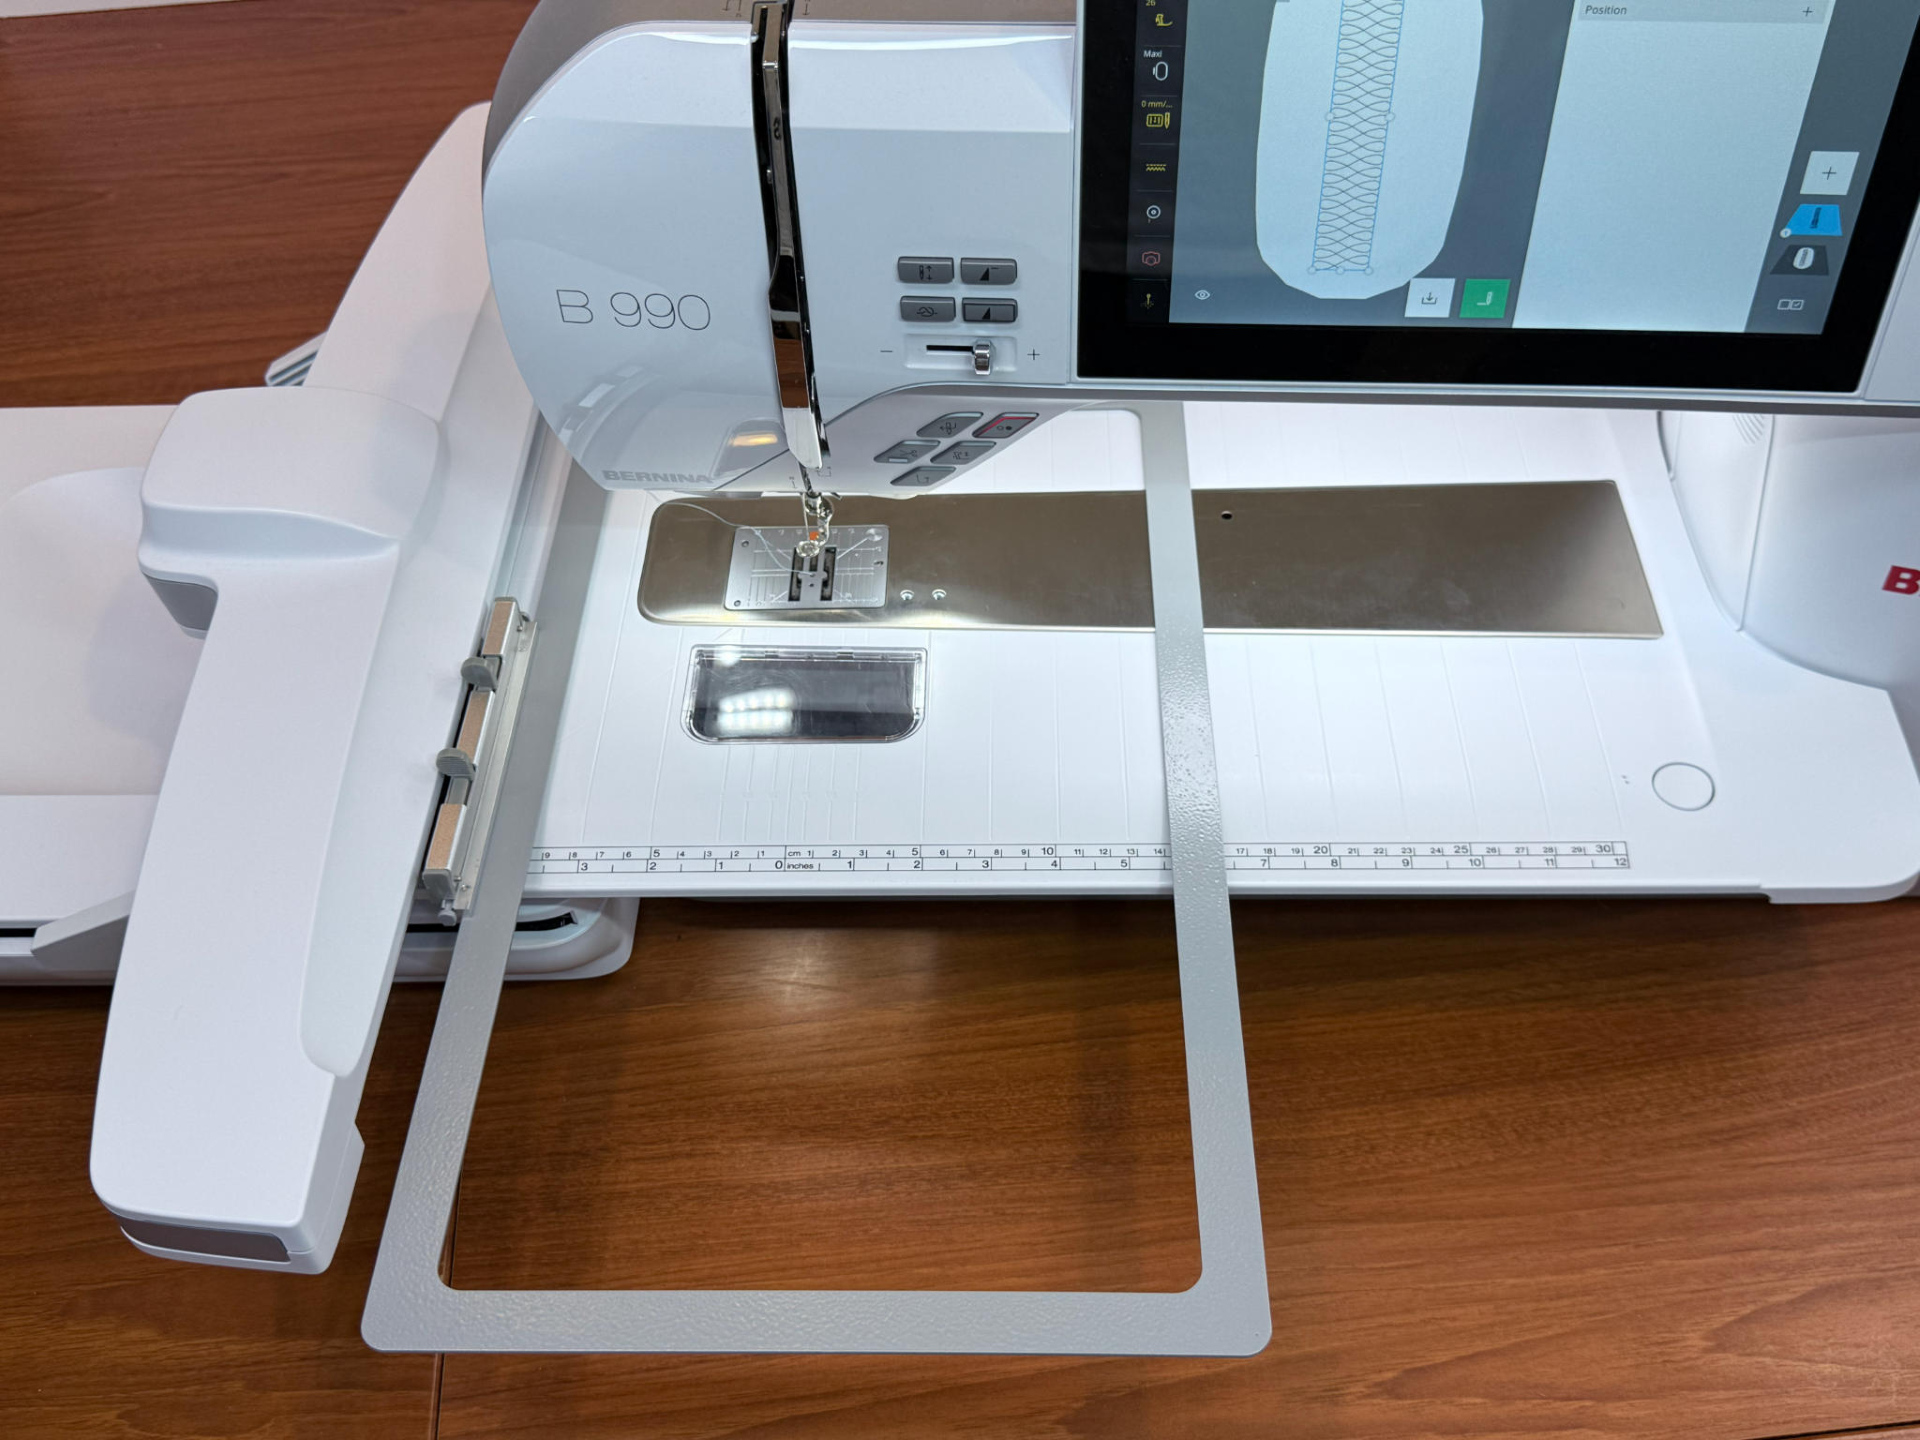
- Attach the metal base frame to the module.
- Position the area to be quilted over the hoop and smooth it flat.
- Align the left edge of the magnetic top frame with the clamp on the hoop.
- Let the magnetic top frame drop into place over the metal base frame.
- Gently tug the quilt if needed to ensure it is flat but not distorted.
- Check to ensure the hoops are aligned by feeling the edges—adjust the top frame until it matches the bottom frame.
Position and stitch your design.
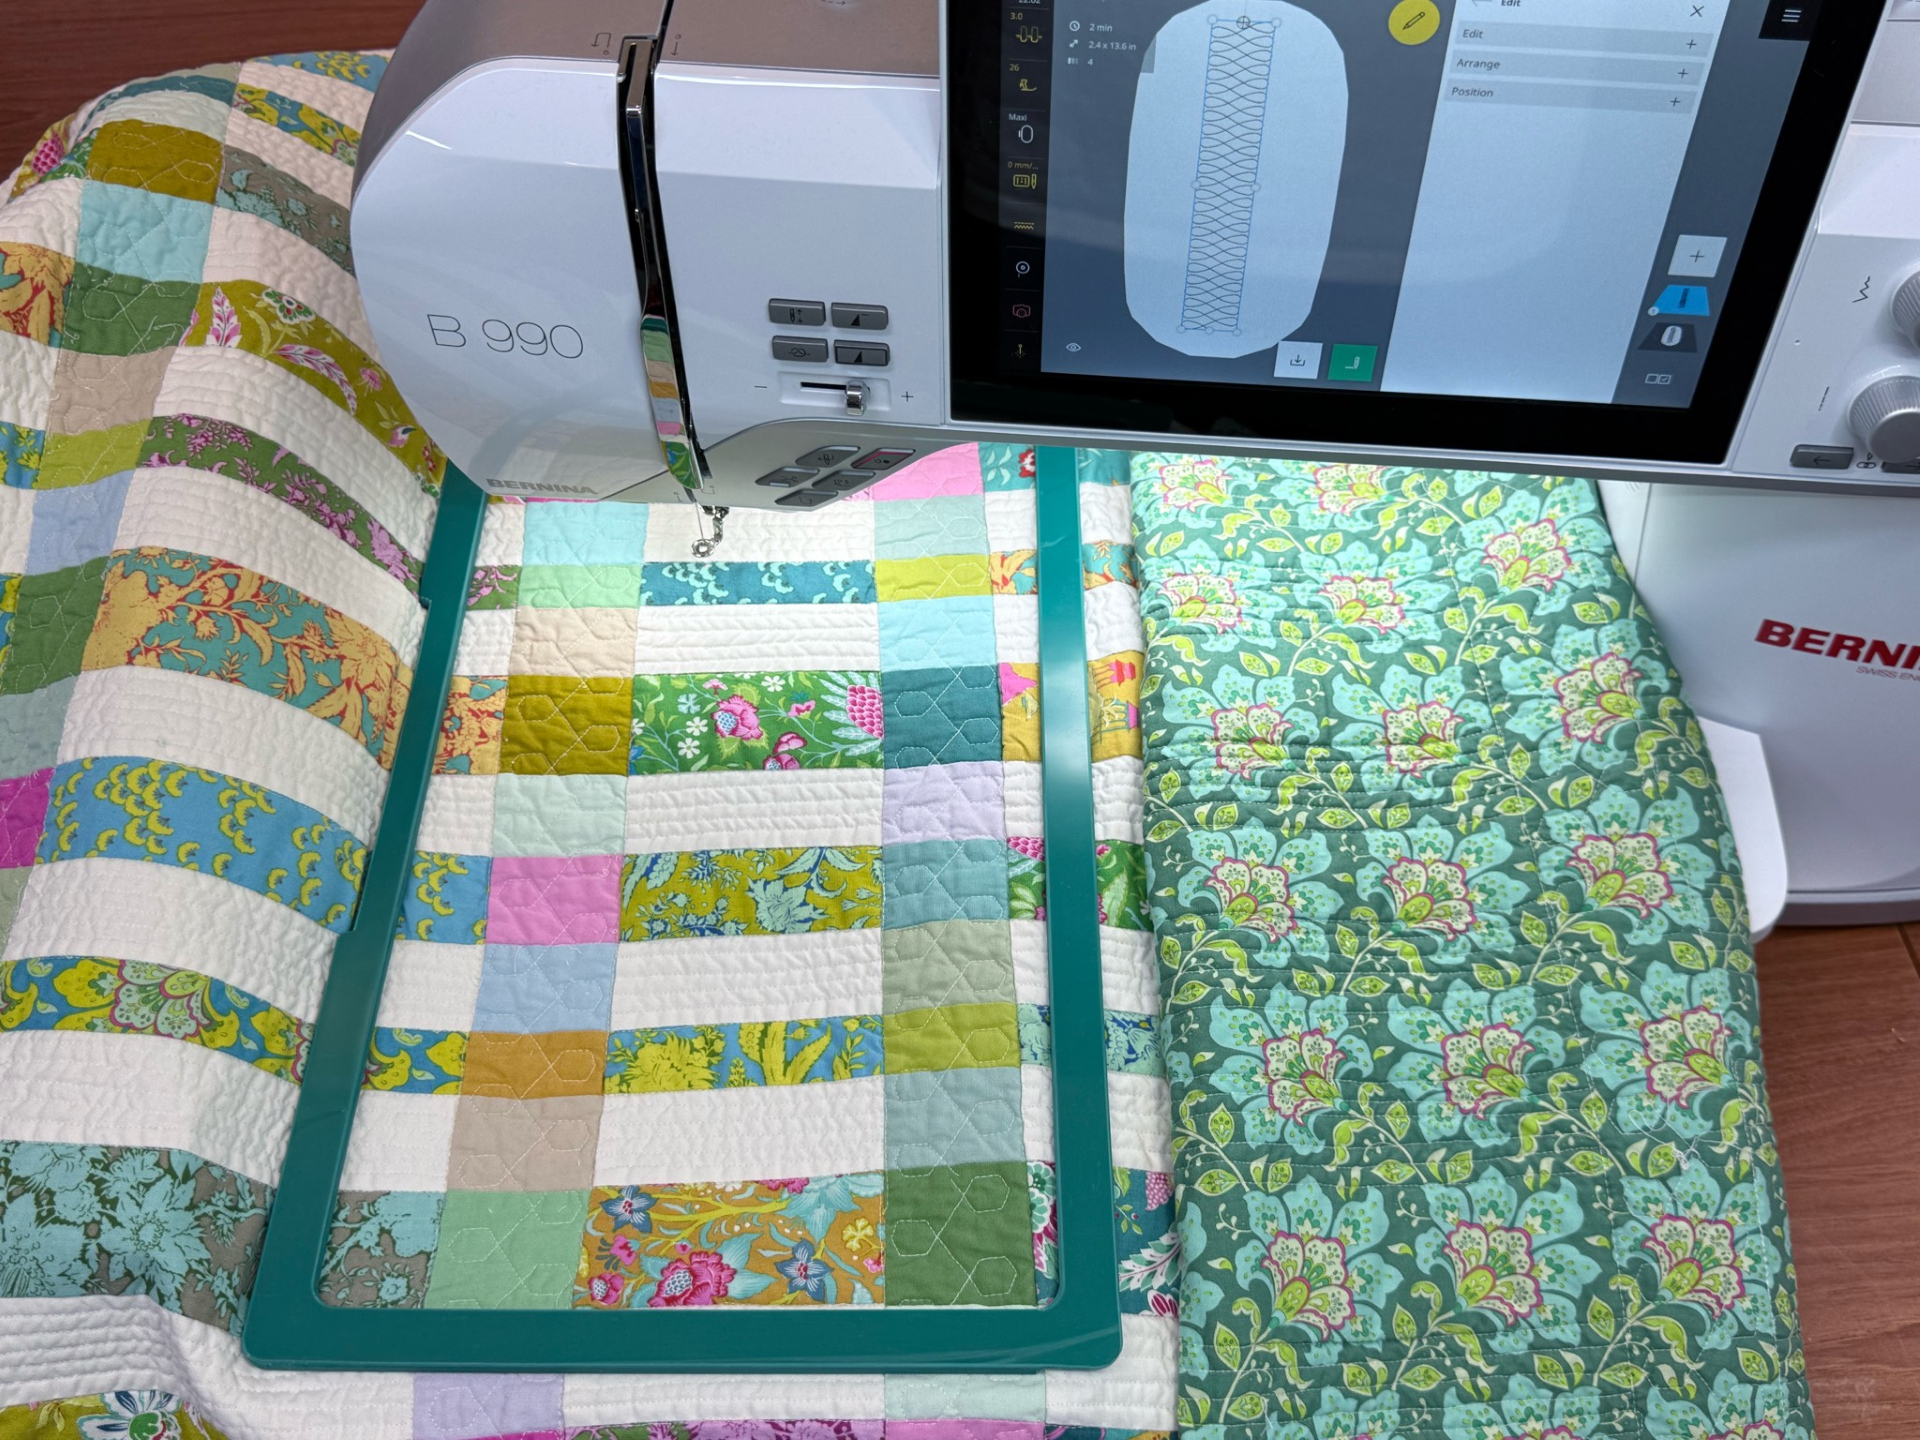
When finished:
- Slide the magnetic top frame off the quilt and place it around the machine head, leaving the metal base frame attached to the module.
- Reposition the quilt.
- Repeat the process for the next area.
Smooth, Supported, and Ready to Quilt
With the right setup and hooping technique, managing quilt bulk becomes simple and stress-free.
Keeping the hoop attached to the module, and using the correct hooping method for your hoop type ensures accurate placement and beautiful results.
Learn more here: Computerized Quilting