
In-the-GIANT-Hoop Placemats
Feb 03, 2026
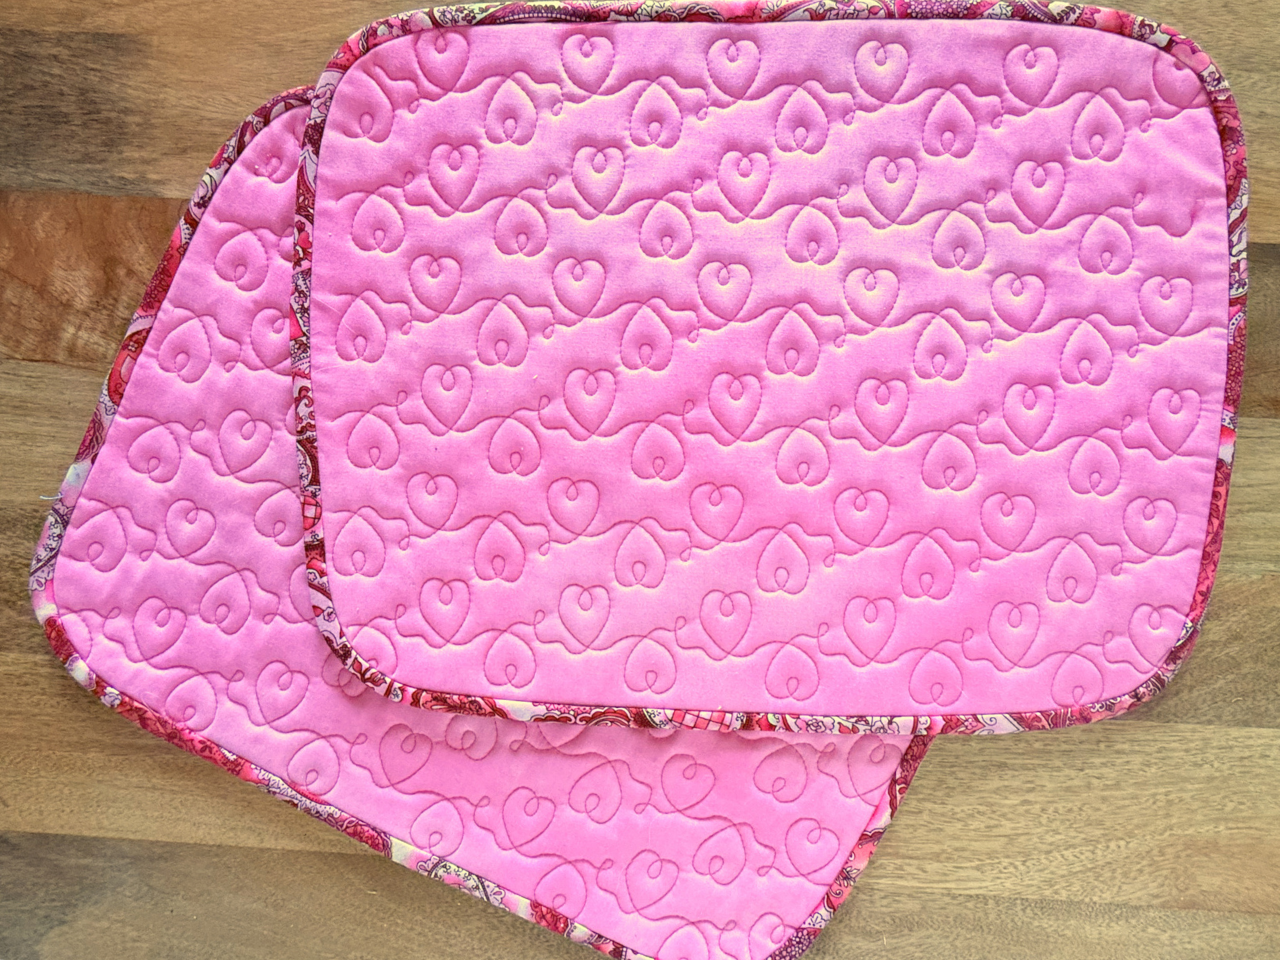
If you love projects that are quick, polished, and look far more complicated than they are, these quilted placemats are going to be your new go‑to. The BERNINA 990’s Giant Hoop gives you a generous 16" x 12" of quilting space, making it perfect for creating beautifully textured placemats entirely in the hoop — no software required.
This method is ideal for seasonal sets, everyday placemats, or last‑minute gifts. With just a few supplies and a handful of steps, you’ll create a quilted background design, quilt the placemat, and finish with binding for a professional look.
Supplies
- BERNINA 990
- BERNINA Giant Hoop
- Embroidery Foot #26
- Patchwork Foot #37D or #97D
- 18" × 20" fabric for the top per placemat
- 18" × 20" fabric for the backing per placemat
- 18" × 20" foam stabilizer or batting per placemat
- Binding strips
Step‑by‑Step Instructions
1. Hoop the Fabric and Foam Stabilizer
Layer your backing fabric, foam stabilizer, and top fabric. Smooth everything into place and hoop the entire stack in the Giant Hoop. Batting can be substituted for the foam stabilizer; however the foam stabilizer adds structure and gives your quilting beautiful definition.
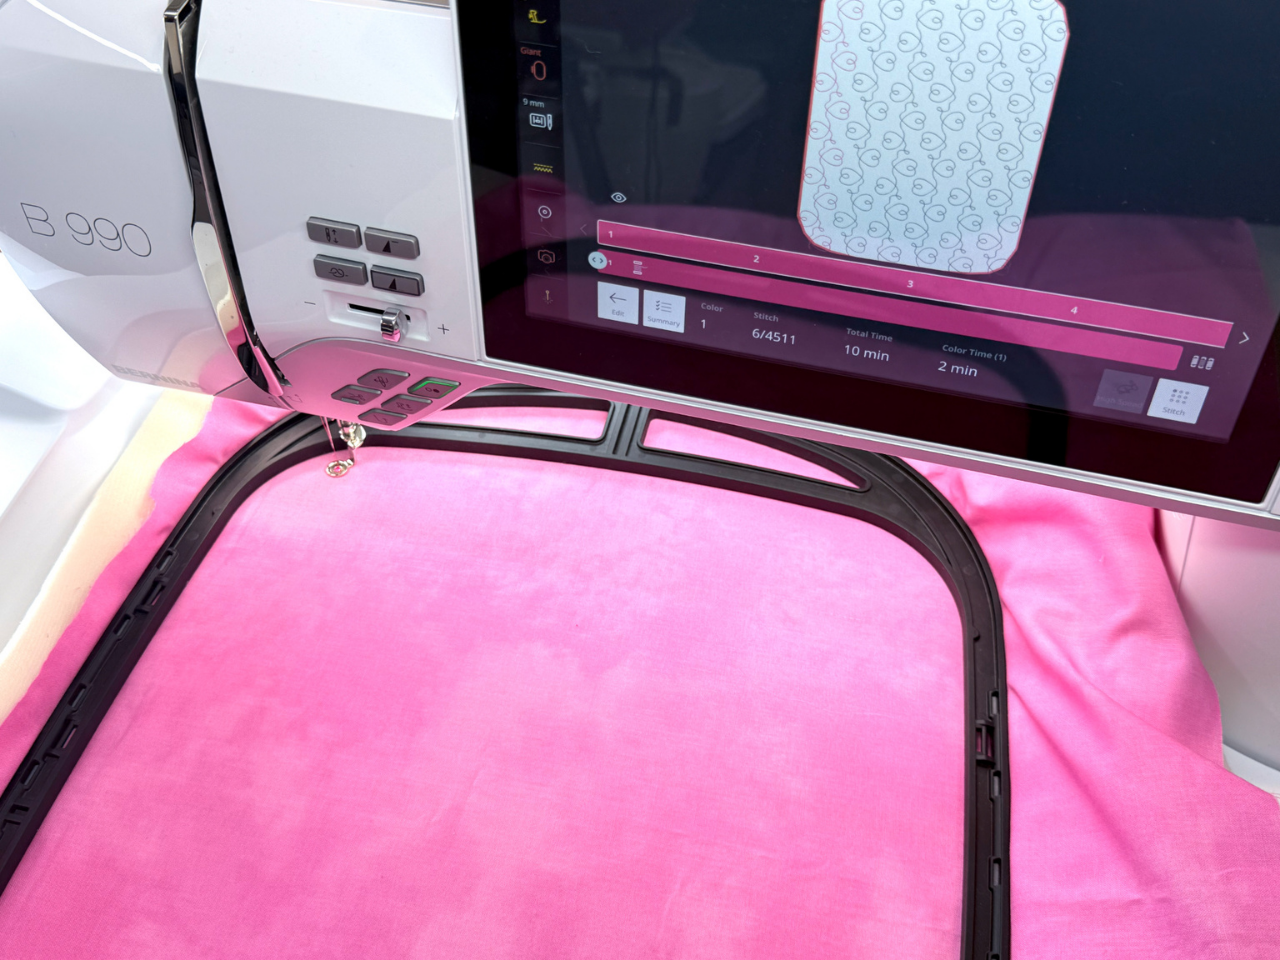
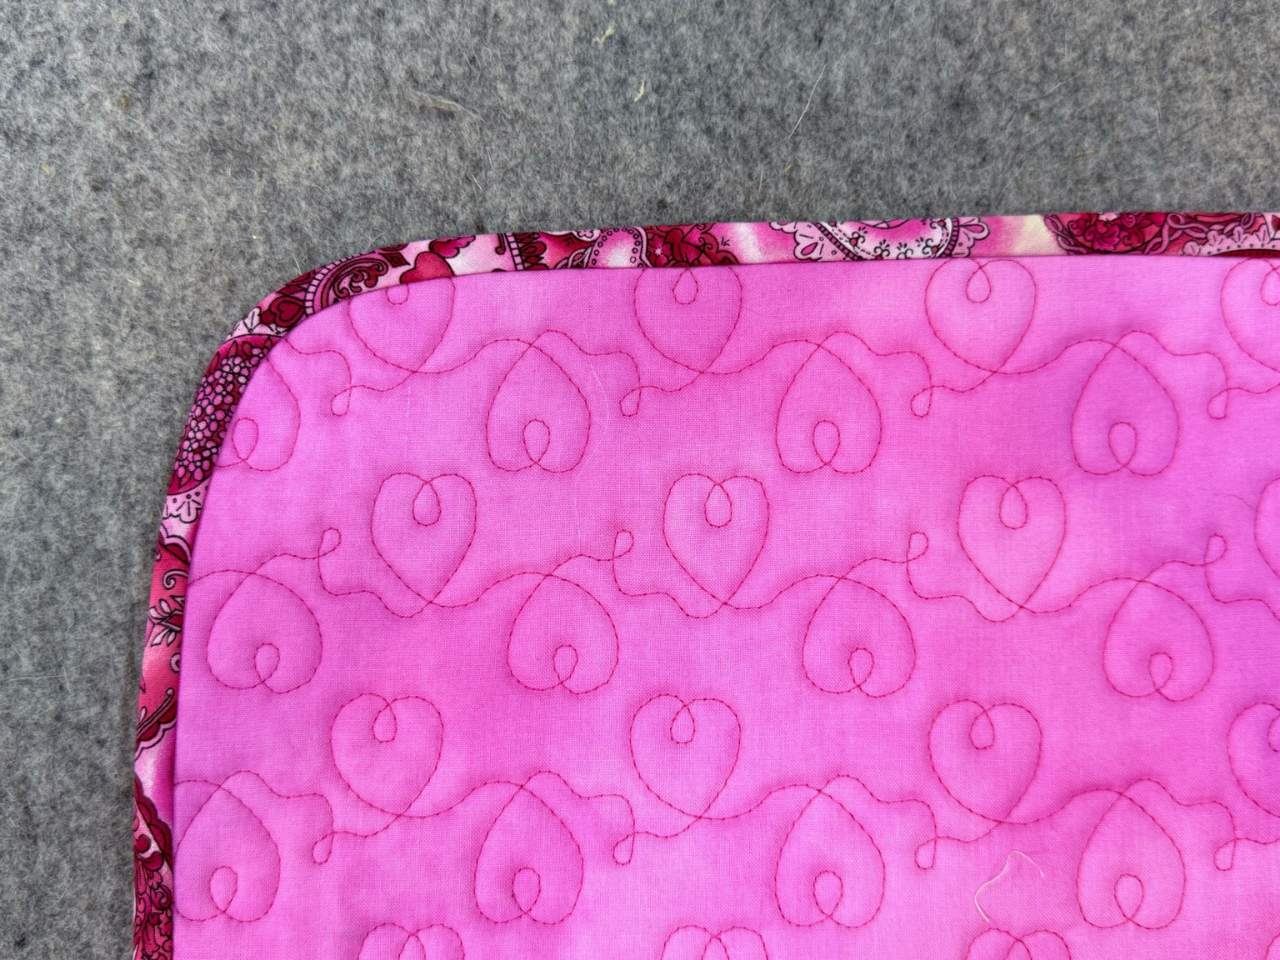
2. Create and Quilt the In-the-Hoop Quilted Background Design
Use the BERNINA 990’s quilting or decorative stitch options to create your In-the-Hoop quilted background design to fill the hoop and stitch.
For more information on creating a quilted background design on the BERNINA 990 check out the Stitch Maker Quilted Background Designs instructions in the Stitch Maker Design Shop or take our Computerized Quilting: Quilted Background Class.

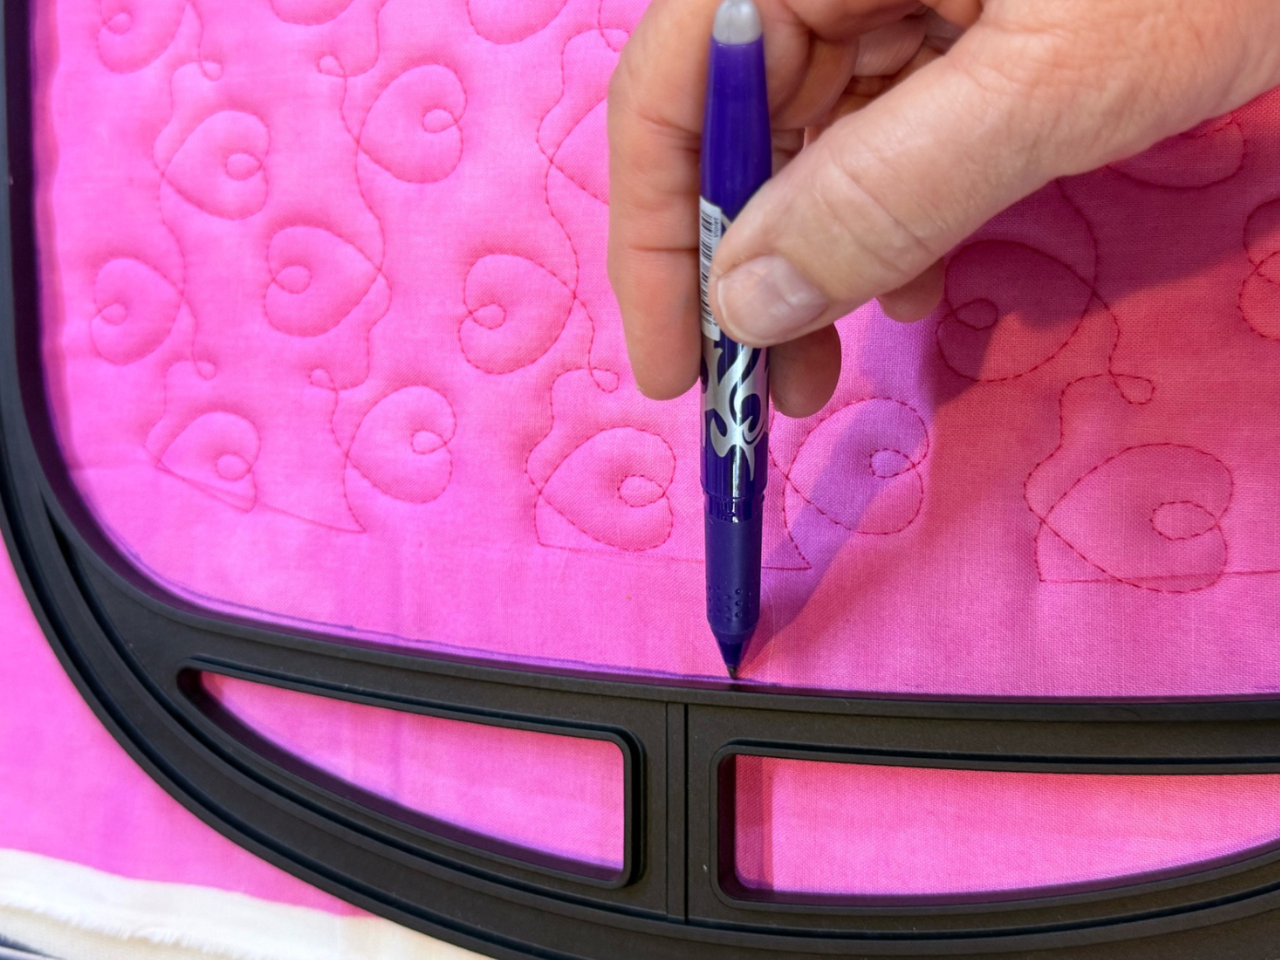
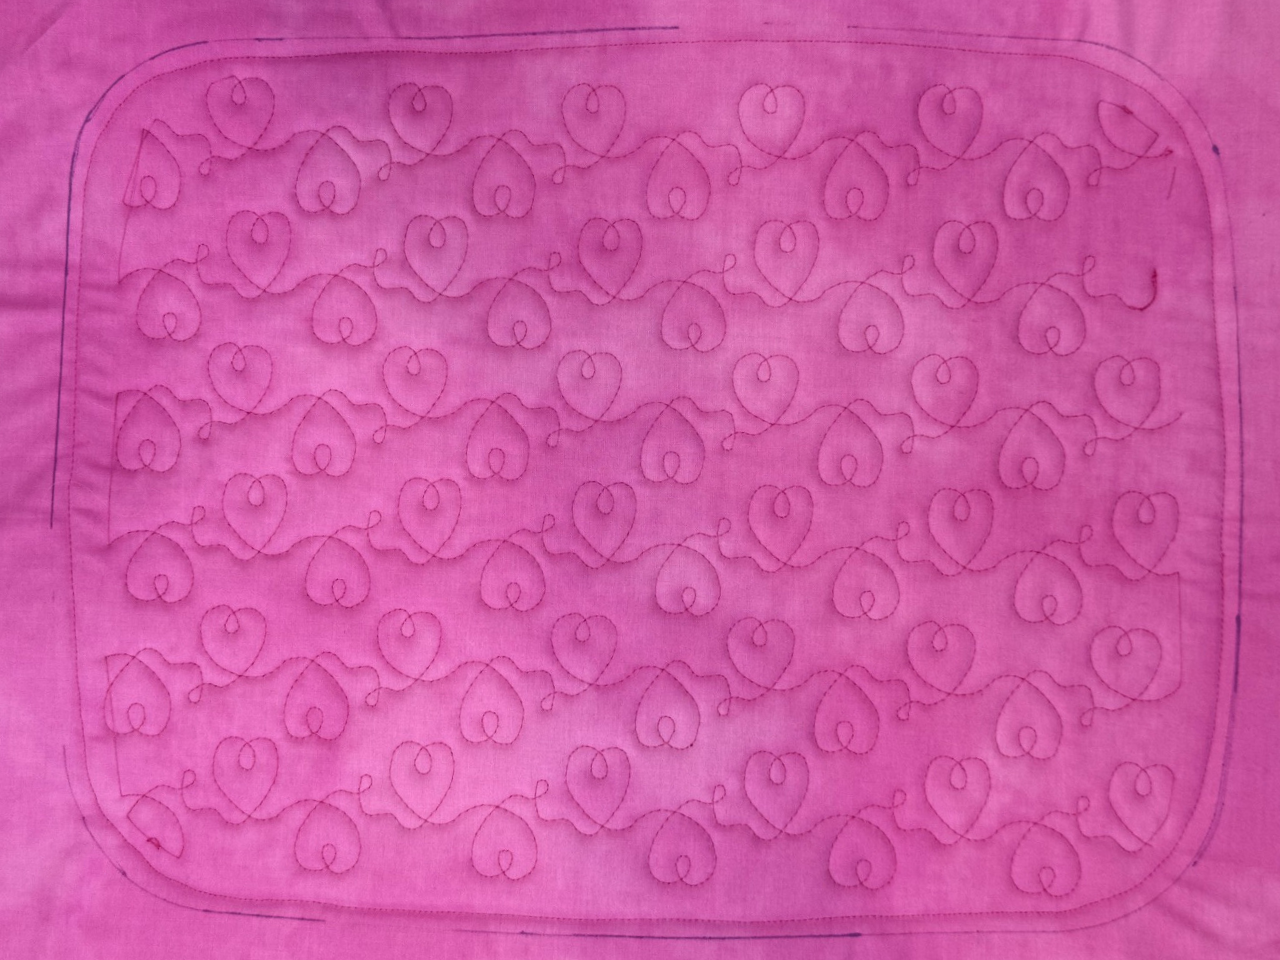
3. Mark the Placemat Outline
After the fabric and stabilizer are quilted and while the fabric is still hooped, use a marking tool to trace along the inside edge of the Giant Hoop. This line becomes your stitching guide for the next step.
4. Remove the Quilted Fabric from the Hoop
Un-hoop your quilted piece. You’ll now have a fully quilted oval placemat with a clean, accurate outline ready to prepare for binding.
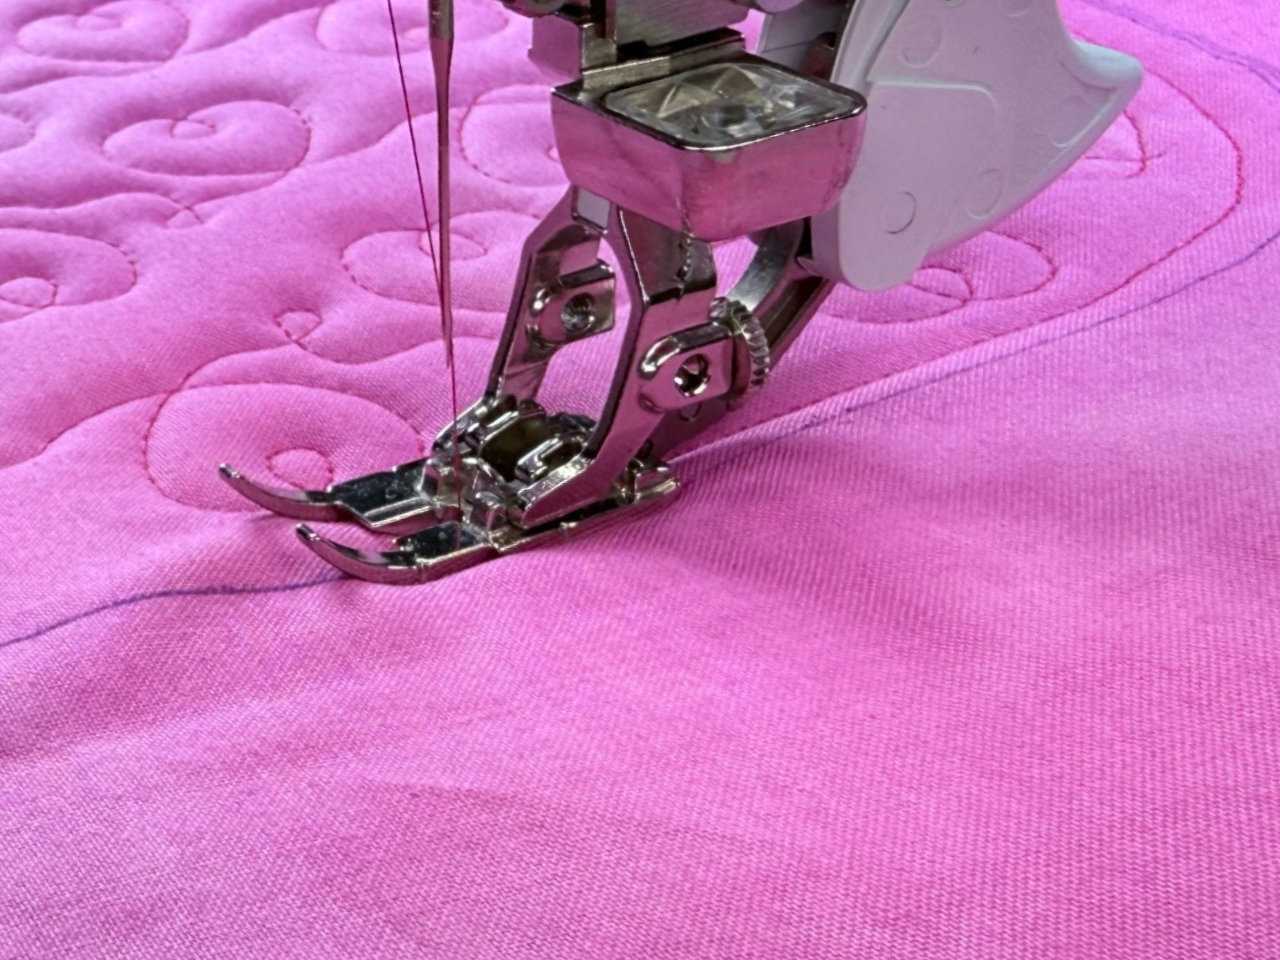
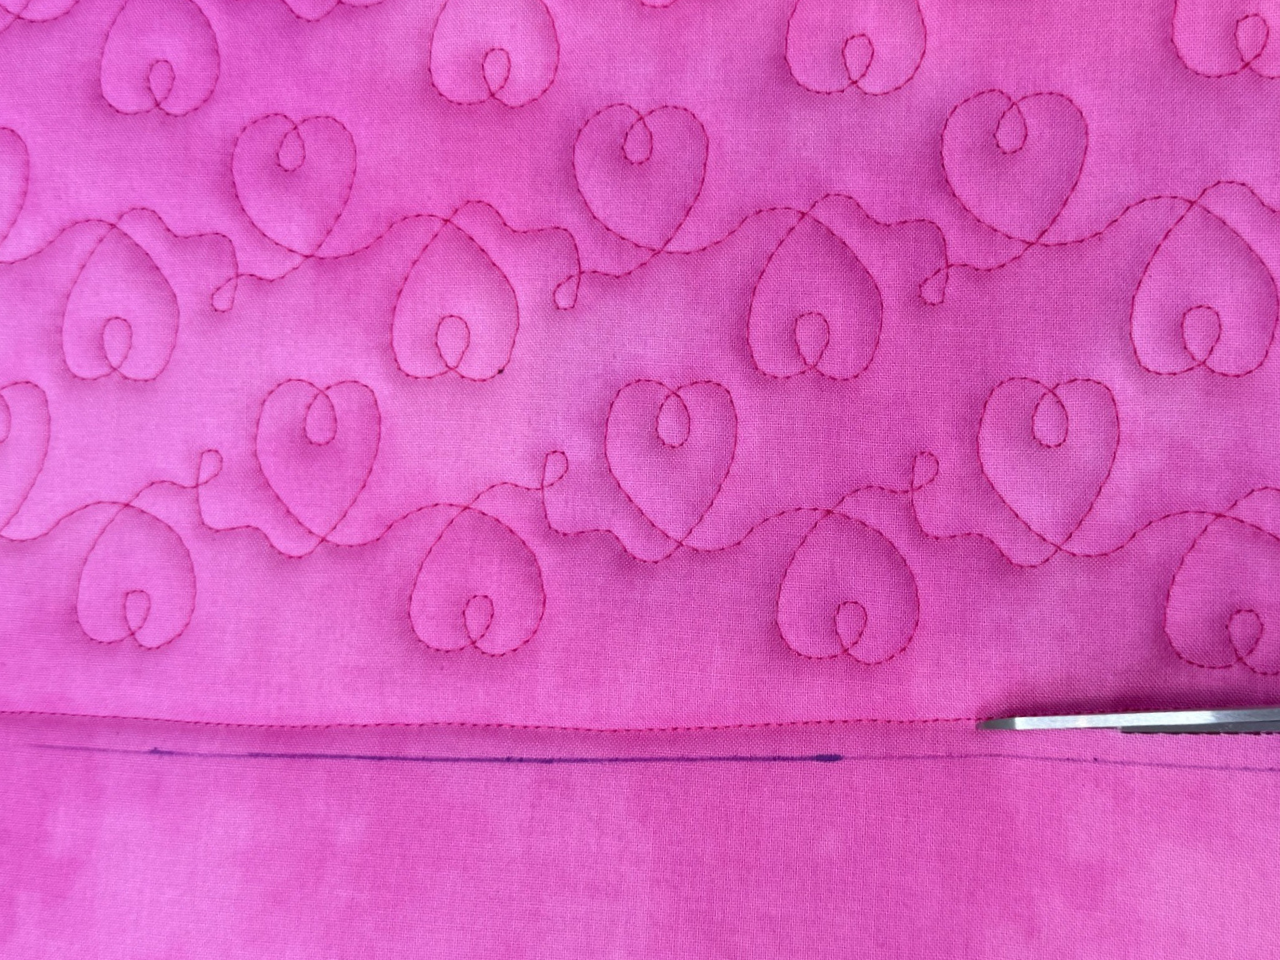
5. Stitch the Outline Using Patchwork Foot #37D or #97D
Next up is to stitch 1/4" from the inside of the drawn line. This secures the placemat edges and gives you a guideline to trim next to.
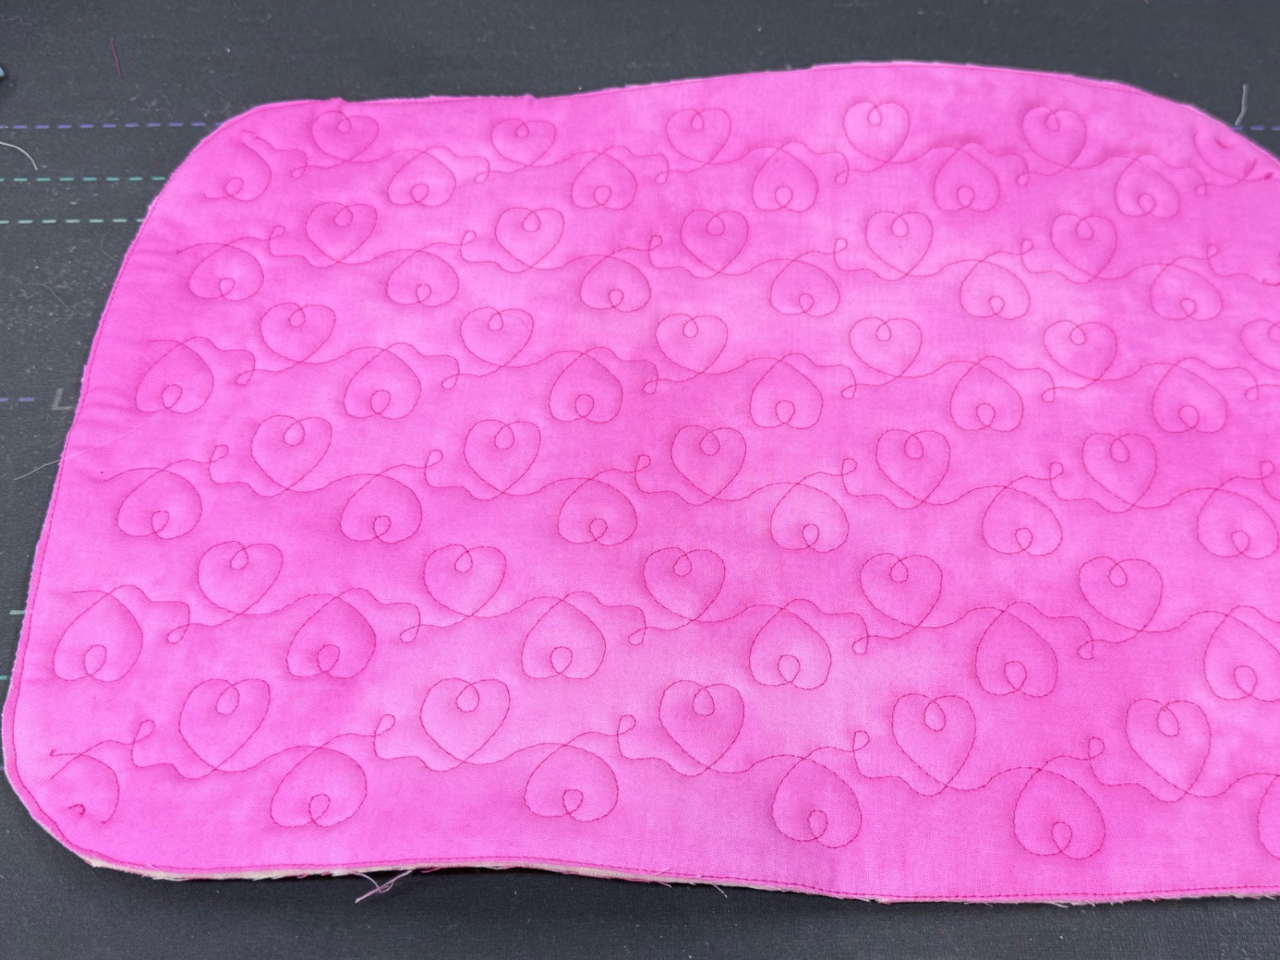
6. Trim Close to the Stitching
Trim around the placemat, staying close to the stitched outline. This creates the final shape and prepares the edges for binding.
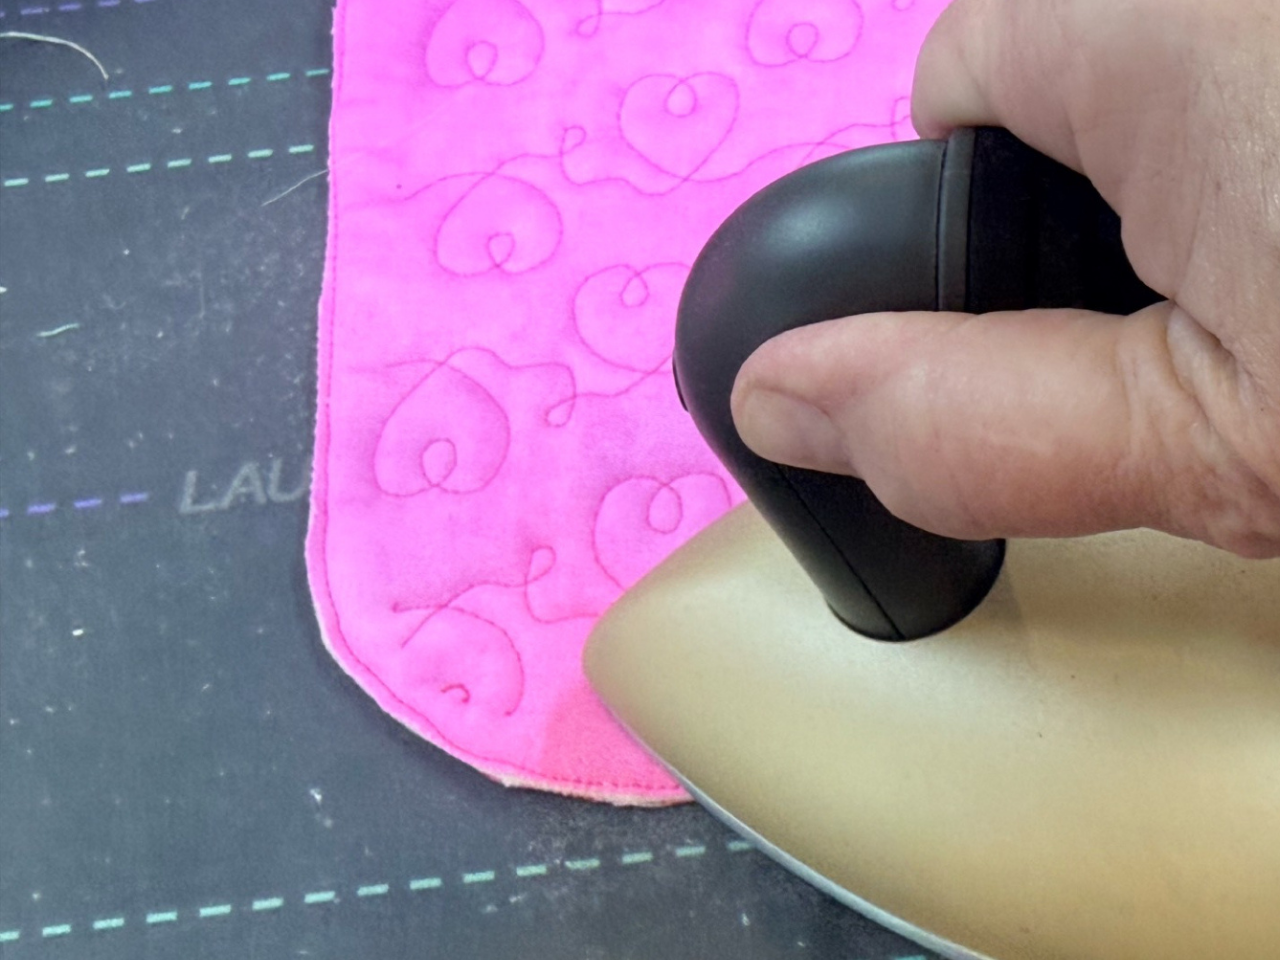
7. Press the Placemats
If your placemat doesn’t lie completely flat after trimming, don’t worry. A quick press using the dry steam from a Laura Star iron will smooth everything out beautifully.
8. Add Binding
Finish your placemat with your favorite binding method.
Why This Method Works So Well
- The Giant Hoop gives you a large, stable quilting area.
- Quilting In-the-Hoop ensures perfect spacing and alignment of the Quilted Background Design.
- Drawing the outline while hooped is your built-in placemat pattern and guarantees accuracy.
- Stitching the outline with a Patchwork Foot creates a clean, professional edge.
- Foam stabilizer adds structure and makes the quilting pop.
This technique is fast, fun, and incredibly satisfying — and once you make one placemat, you’ll want to stitch a whole set.
Keep Making Stitches!
Discover Stitch Maker Classes and explore our hands-on Stitch Exercises—your path to mastering BERNINA techniques with creativity and confidence
Join Stitch Maker's Email List
Stay in the loop with all things Stitch Maker!
Get notified whenever a new learning tool launches so you never miss an opportunity to grow your skills.
